Sew a Teddy Bear: Free Pattern for a Safe Cuddly Toy
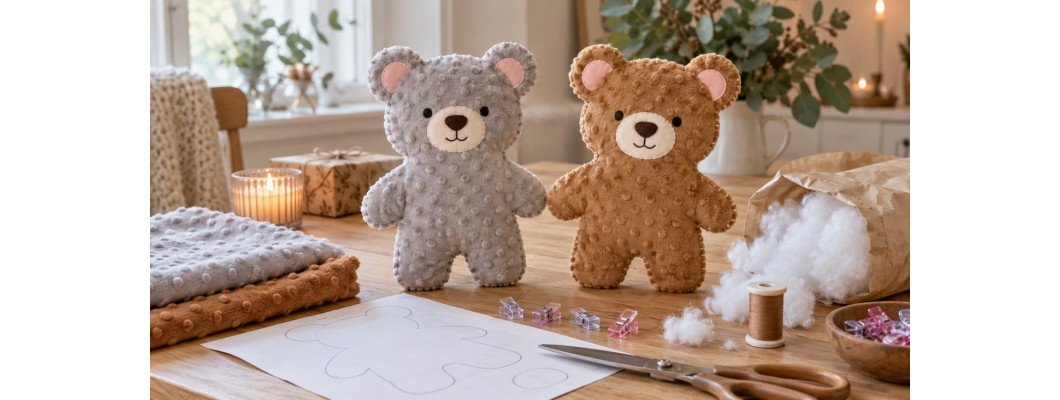
A handmade cuddly toy is the kind of gift that stays around for years. And it's easier to sew than you might think. This teddy bear is made from a single pattern piece that you cut twice, a felt face and a handful of stuffing. No separate arms, no tricky seams. In an hour and a half it's ready for Christmas, a birthday or a new baby.
With the free pattern below you'll sew a bear of about 21 cm from a 25 × 40 cm piece of minky fleece. The face is sewn or embroidered on, without buttons or plastic eyes, so it's safe for the very youngest too.
Download the free pattern (PDF)
What you need
- A 25 × 40 cm piece of minky fleece (€ 8.95 per metre, 150 cm wide). One metre is enough for about fourteen bears.
- Craft felt in three colours for the muzzle, nose and inner ears. Scraps are enough.
- 100 to 120 grams of polyester stuffing. A 1000 gram bag fills eight to ten bears.
- Sewing thread to match the fabric, and black thread for the eyes and mouth
- A machine needle 80/12 (90/14 for teddy), a hand needle, sewing clips, chalk and sharp scissors
Which fabric is best for a cuddly toy?
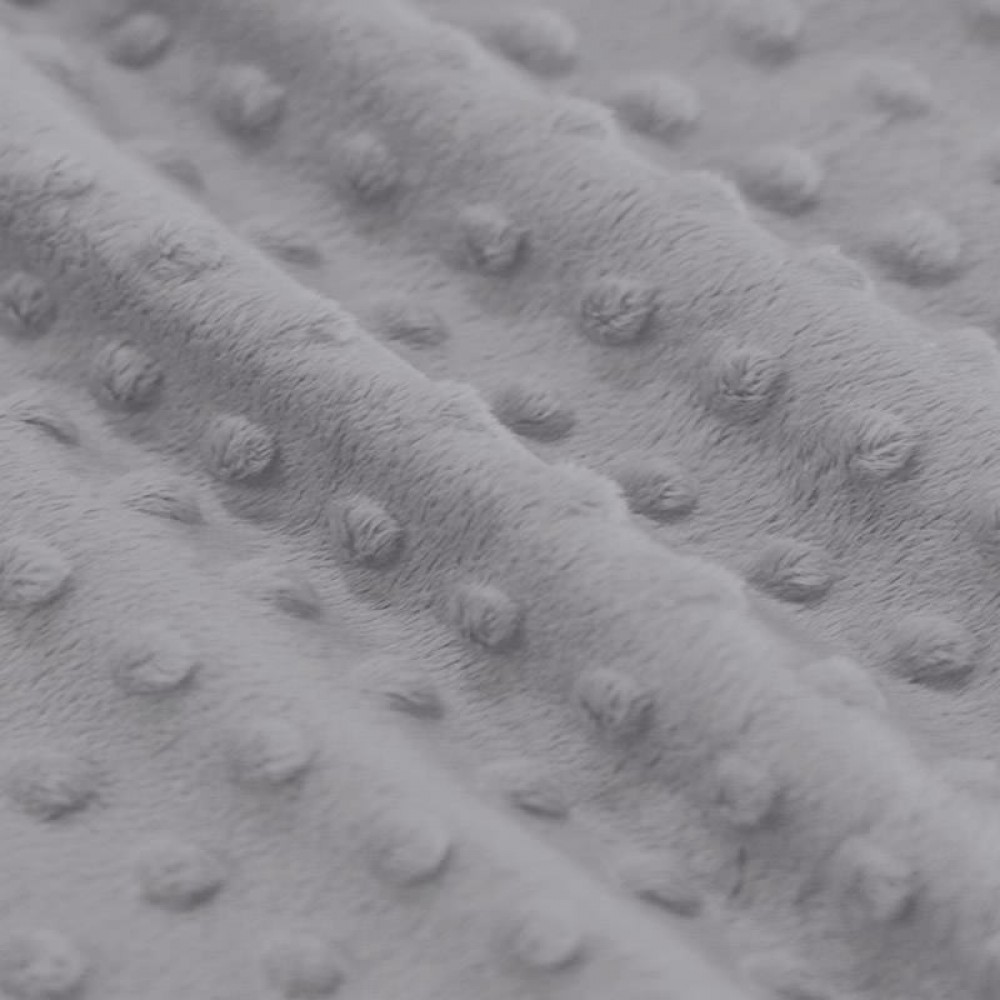
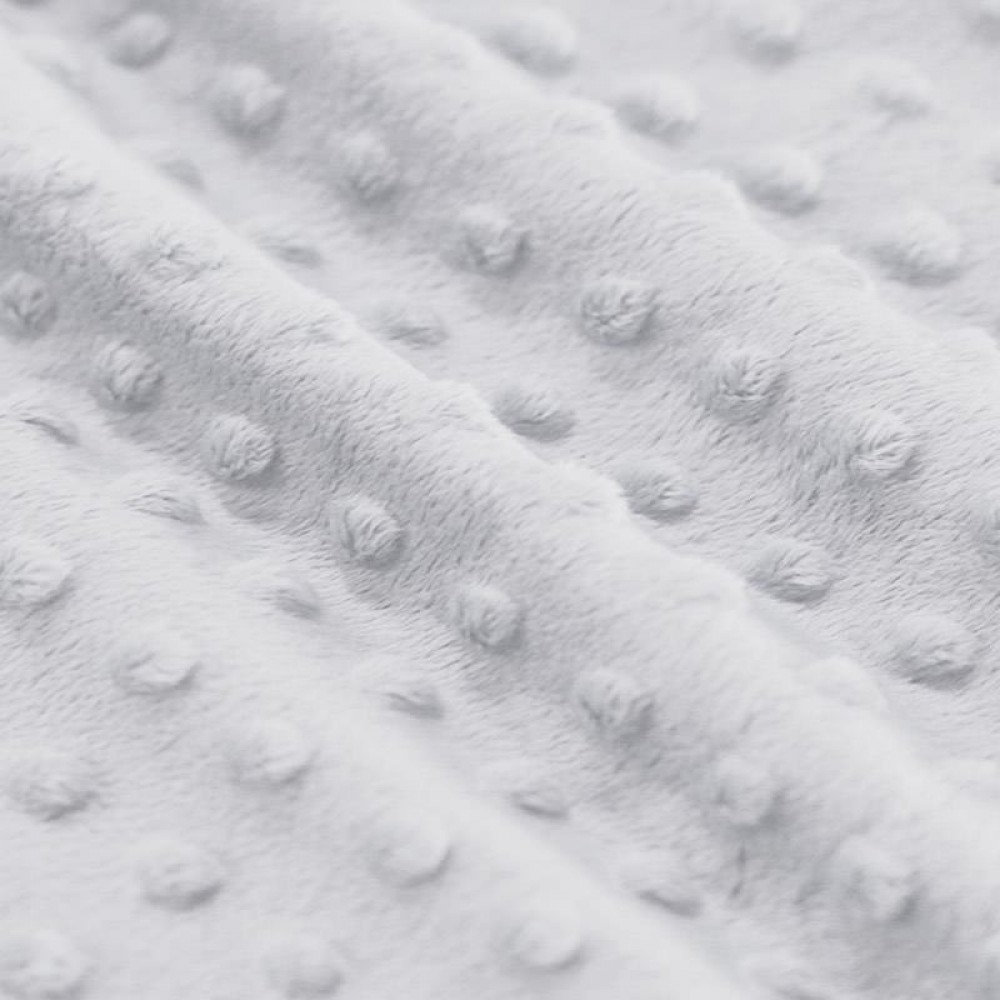
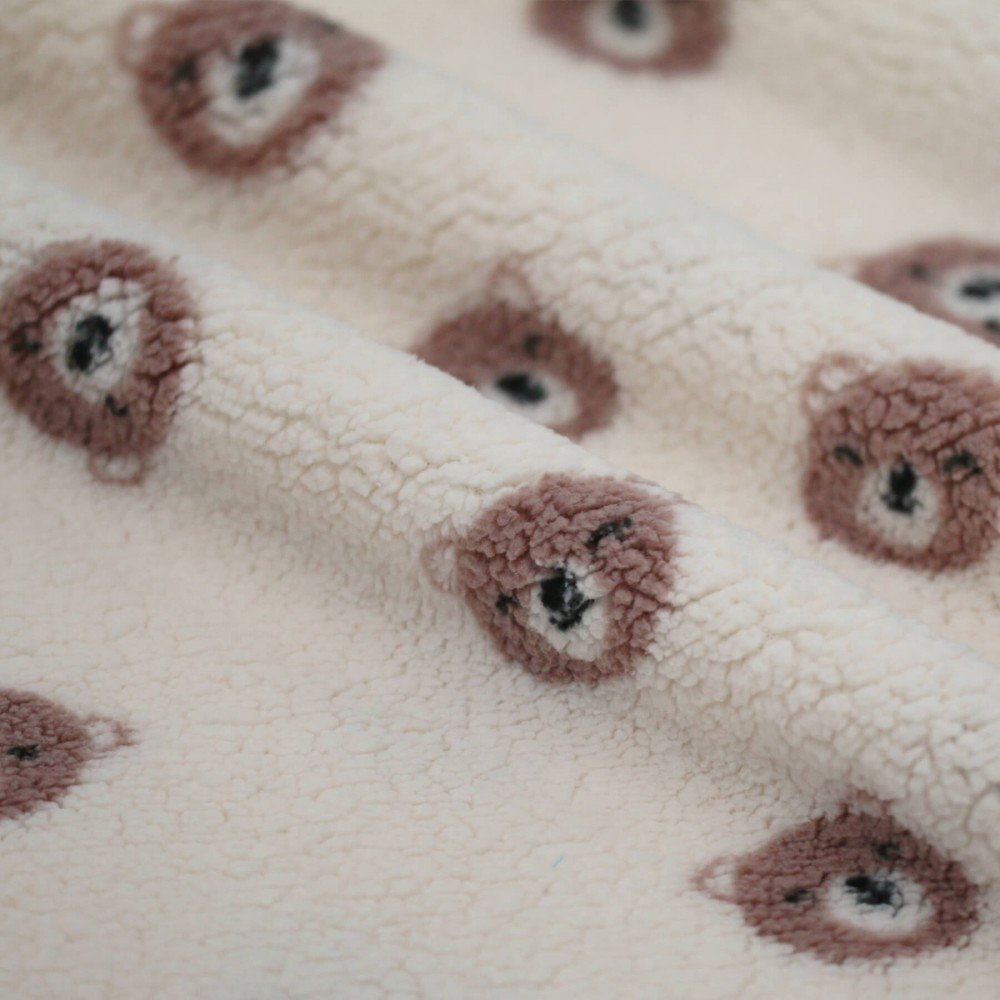
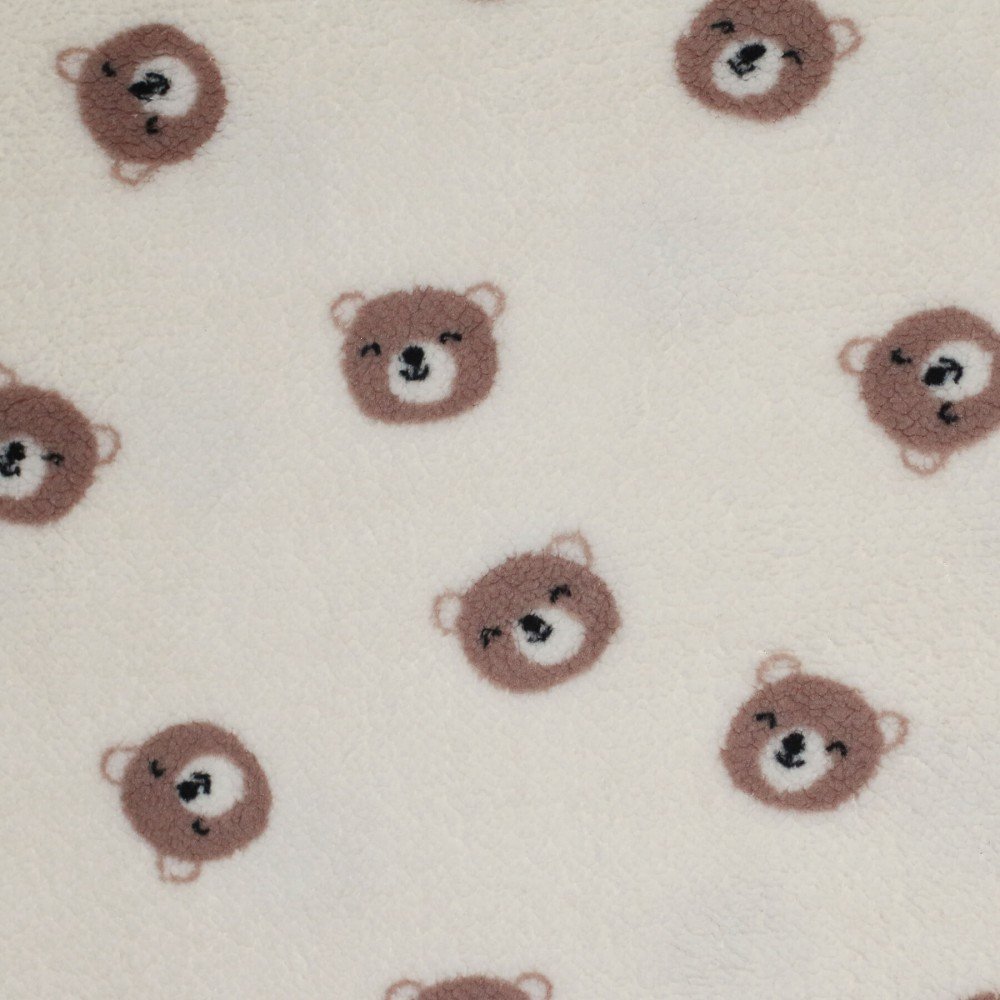
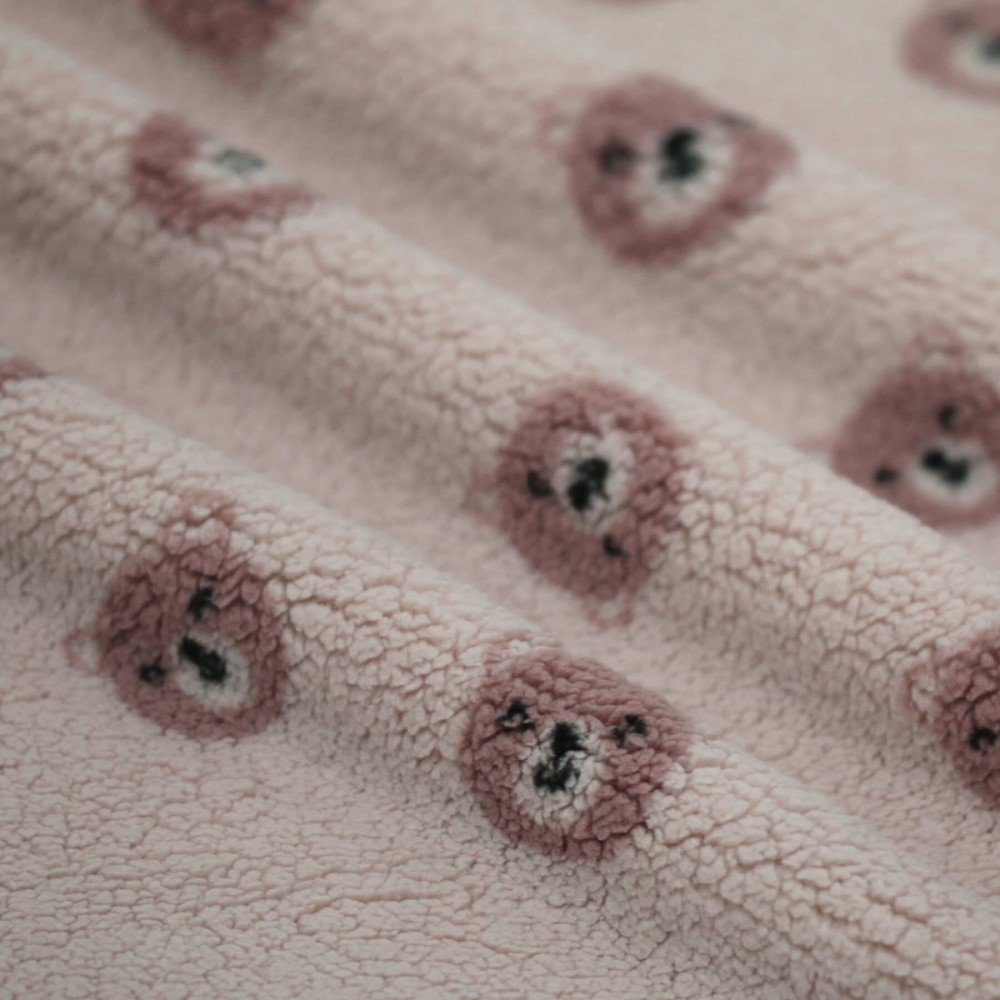
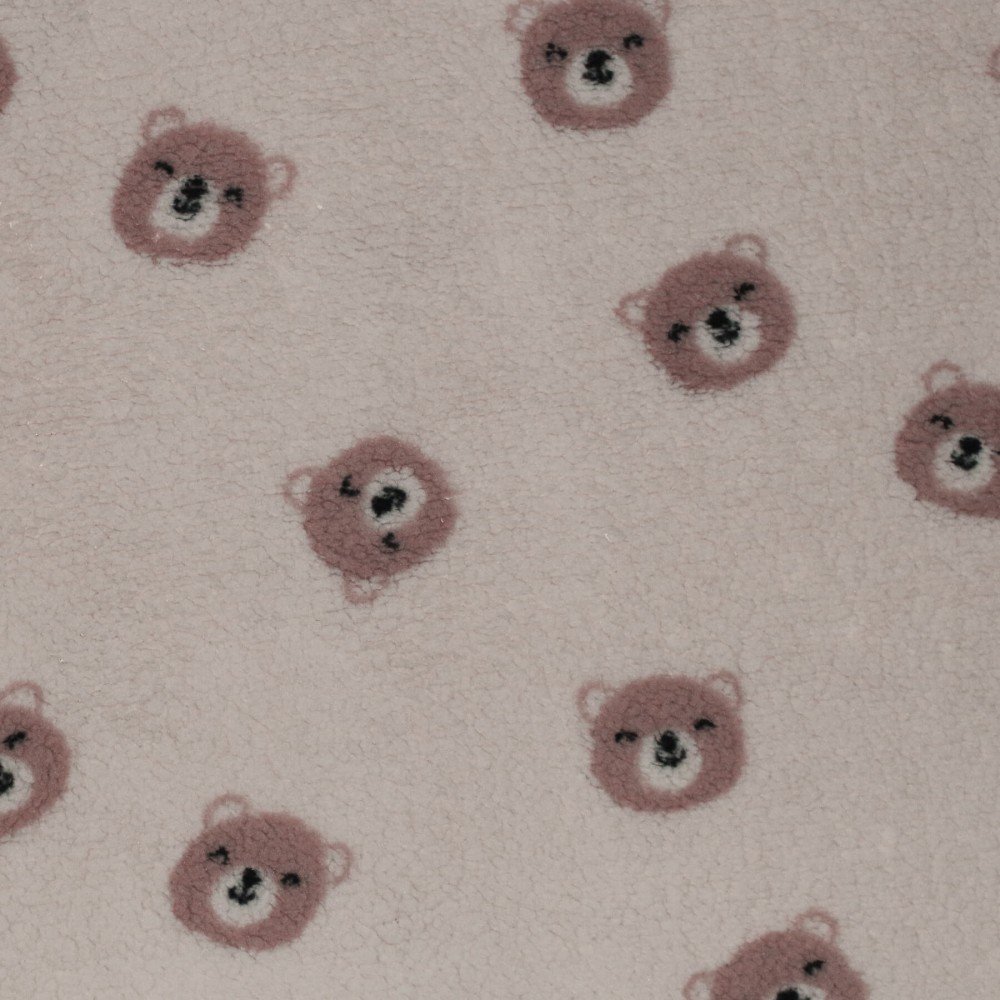
- Minky fleece: the classic cuddly toy fabric. Super soft, a short pile that doesn't fray, and washable. Our choice for this bear.
- Teddy: woolly and curly, for a real "old-fashioned" teddy bear. A little thicker, so sew slowly at the ears. More in what is teddy fabric?
- Nicky velour: soft and thin, lovely for a baby toy. It does stretch, so use a stretch stitch or a narrow zigzag.
Mind the nap. Minky and teddy have a direction in which the pile lies. Run your hand over the fabric: the direction in which it feels smooth is "with the nap". Cut both pieces so the nap runs from the head to the paws. Then the bear feels soft when you stroke it.
The free pattern
The pattern is two A4 pages. Page 1 has the materials, the safety advice and the felt pieces at full size. Page 2 is the bear's body at full size, with the cutting line, stitching line, turning gap, the position of the face and arrows showing where to snip. Print at 100 % and measure the test square: it must be exactly 5 × 5 cm.
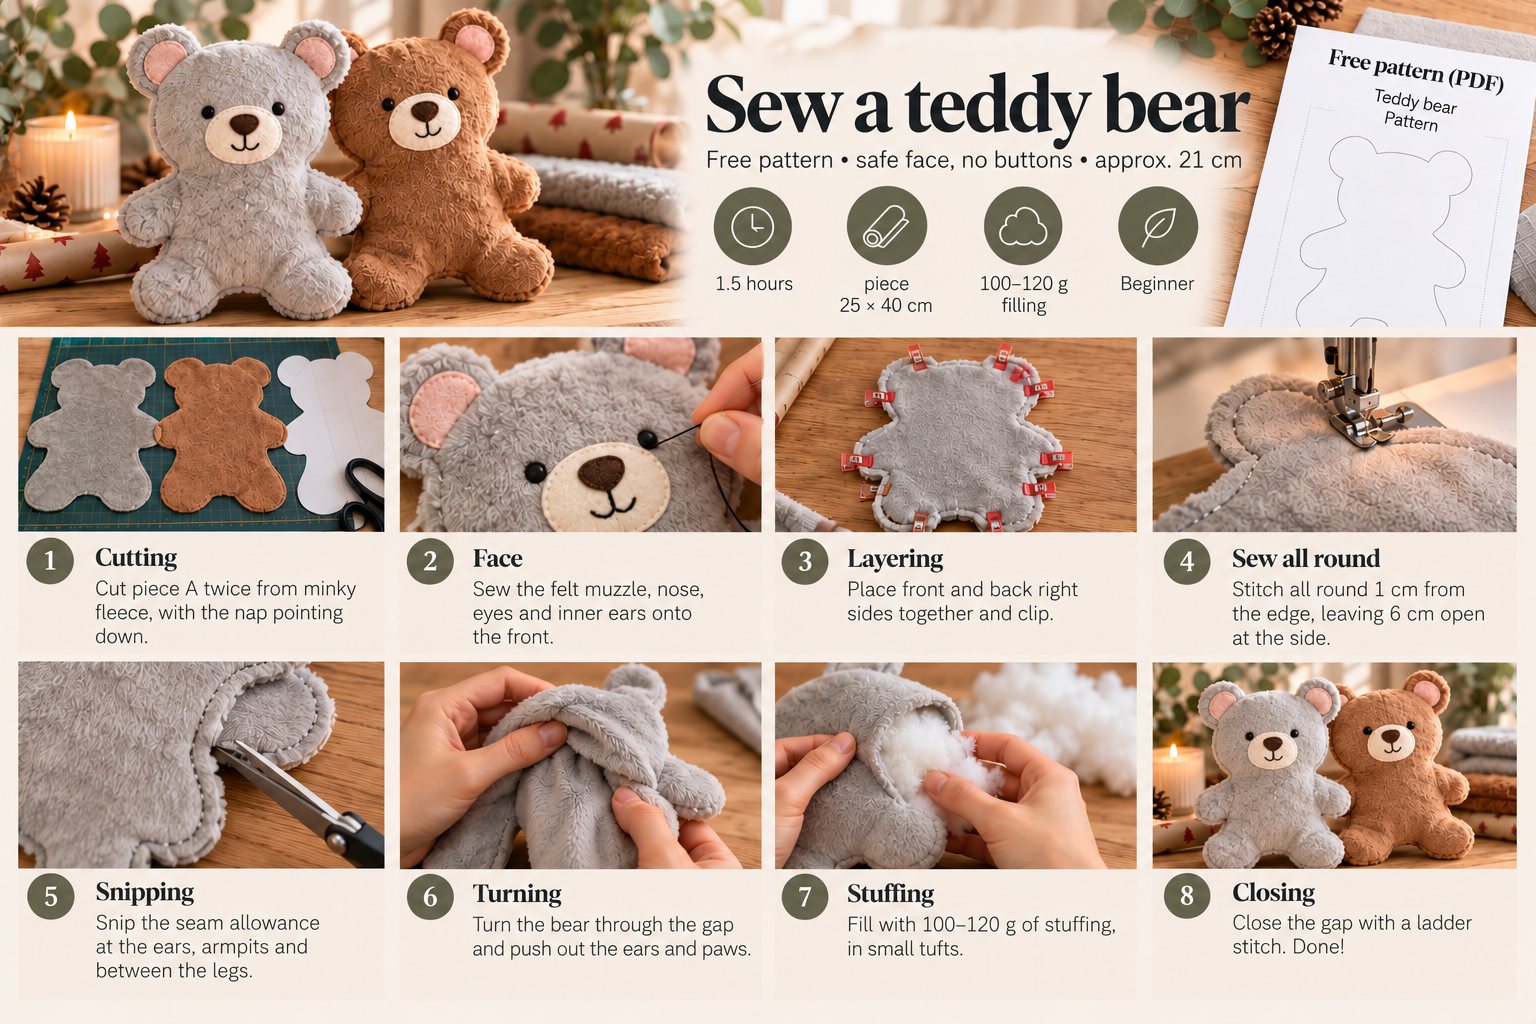
Step 1: cutting
Cut out the pattern and place it on the wrong side of the fabric, with the arrow pointing in the direction of the nap. Trace around it with chalk and cut piece A twice. Because the bear is symmetrical, you don't need to flip the pattern.
Cut the felt pieces without seam allowance: one muzzle (B), one nose (C) and two inner ears (D). For the eyes (E) you can cut small felt circles or embroider them later.
Tip: minky sheds fluff when you cut it. Snip in small cuts through the backing only, not through the pile. Give the pieces a shake afterwards or run a lint roller over them.
Step 2: the face
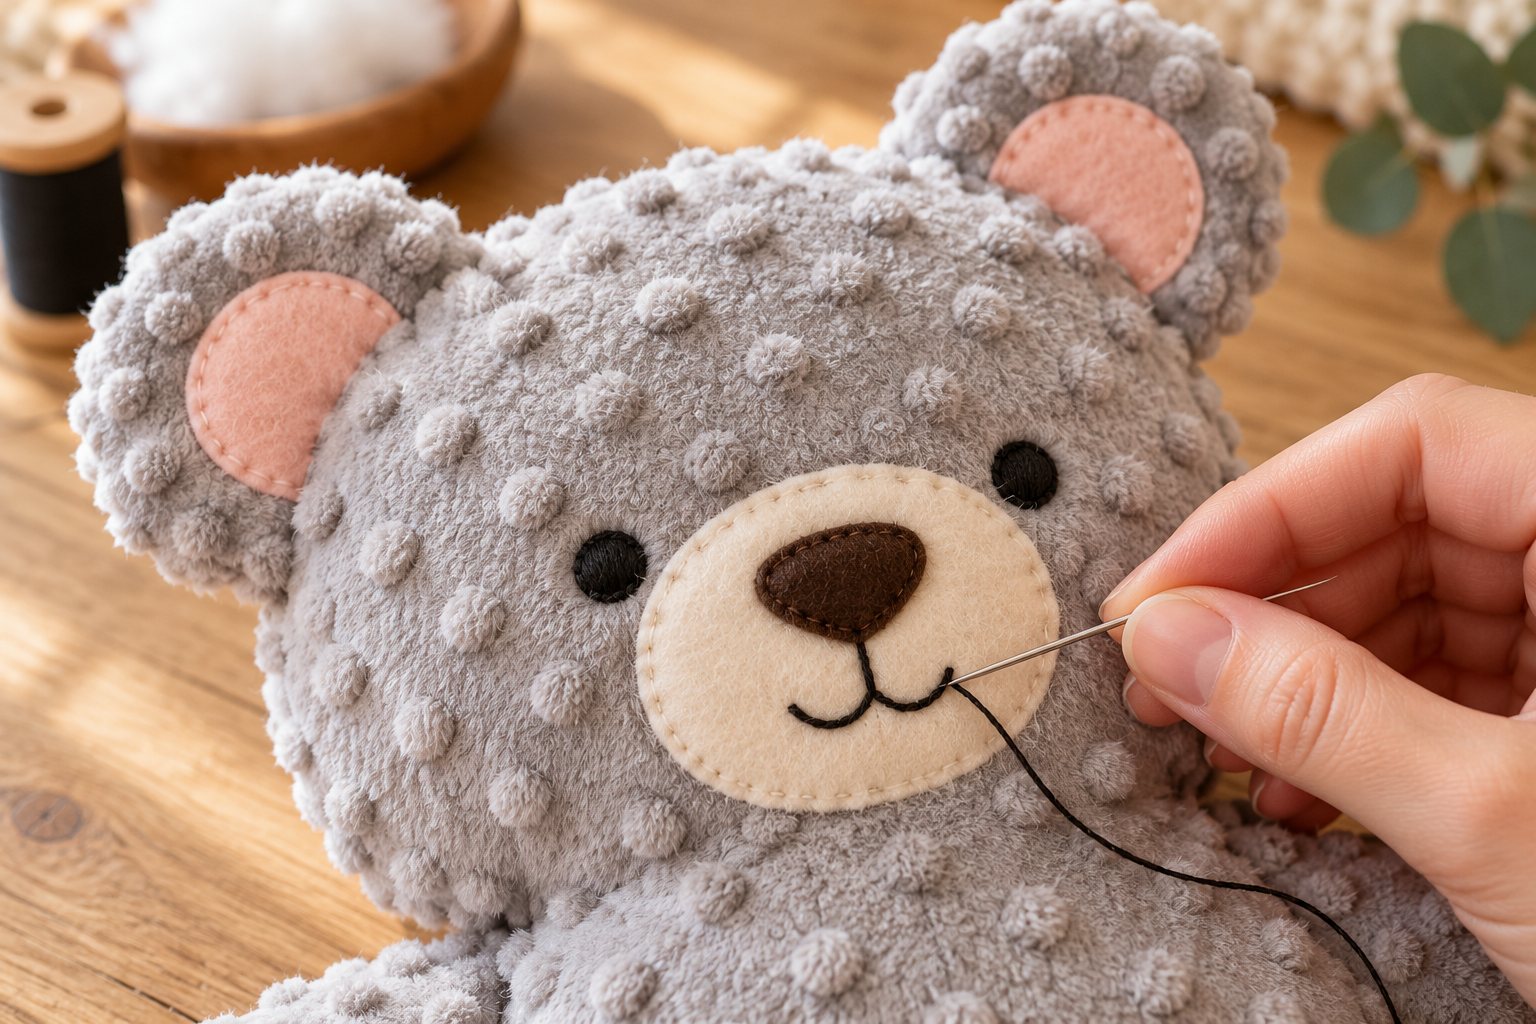
Do this before you sew the bear closed, because you can't reach it afterwards. The dotted lines on the pattern show where everything goes.
- Pin the muzzle (B) onto the front and sew it on all round with small hand stitches, or a narrow zigzag on the machine.
- Sew the nose (C) on top of the muzzle.
- Make the eyes: sew on two felt circles, or embroider them in satin stitch with black thread.
- Embroider a little mouth under the nose with a few stitches.
- Sew the inner ears (D) into the ears of the front.
Step 3: layering and sewing all round
Place the front and back right sides together. Clip all round, with a few extra at the ears. Pins work too, but minky likes to slide: clips hold better.
Stitch all round 1 cm from the edge, with a stitch length of 2.5 to 3 mm. Start and finish at the mark for the turning gap on the side: leave 6 cm open there. Backstitch well at both ends, because that's where you'll pull when turning. Sew slowly around the ears and paws, and leave the needle down when you need to pivot.
Step 4: snipping
The pattern has arrows at the ears, the armpits and between the legs. Snip the seam allowance there, up to just before the seam but not through it. On the outward curves (tops of the ears, the paws) cut small notches out of the seam allowance. That way the curves turn out smooth and the fabric doesn't pull.
Step 5: turning and stuffing
Turn the bear right side out through the gap. Gently push out the ears and paws with the end of a pencil or a knitting needle. Run a pin along the seam to tease out the pile; the seam then almost disappears.
Fill the bear with polyester stuffing. Start with small tufts in the ears and paws, then work towards the middle. Small tufts give an even, firm toy without lumps. For a 21 cm bear you need about 100 to 120 grams. A toy for a baby can be filled a little softer.
Step 6: closing
Fold the seam allowance of the gap inwards and close it with a ladder stitch: take a few millimetres into the fold on one side, then on the other, alternating. Pull the thread and the gap closes invisibly. Finish off by stitching a few times in the same spot and cutting the thread after passing it through the bear.
A safe cuddly toy for small children
- No buttons, beads or plastic eyes for children under three. Small parts can come loose and be swallowed. A felt or embroidered face is just as cute.
- Sew securely: a stitch length of 2.5 to 3 mm, and double backstitching at the turning gap.
- Check the seams now and then, especially if the toy gets a lot of cuddles and washes.
Variations on the same pattern
- Other animals: round ears make a bear. Draw longer ears for a bunny, or pointed ones for a cat. The rest stays the same.
- Two fabrics: a tummy in a contrasting minky or teddy, or a back in a printed fabric.
- Bigger or smaller: enlarge the pattern to 130 % when printing for a bear of about 27 cm, or reduce it to 75 % for a keyring. Adjust the stuffing and fabric to match.
- With a name: embroider a name or date on the back, as a gift for a new baby.
Got stuffing left over? Use it for a handmade cushion.
Download the free pattern (PDF)
Frequently asked questions
What is the best fabric for making a cuddly toy?
Minky fleece is the most popular cuddly toy fabric: super soft, washable and it doesn't fray. Teddy gives a woollier, more classic look, and nicky velour is thin and soft but stretches more.
How much stuffing do I need for a cuddly toy?
For this bear of about 21 cm, 100 to 120 grams of polyester stuffing is enough. A 1000 gram bag therefore fills eight to ten bears.
Is a handmade cuddly toy safe for a baby?
For children under three, don't use buttons, beads or plastic eyes; use a felt or embroidered face instead. Sew securely with a short stitch, backstitch well and check the seams regularly.
Can I wash a minky fleece cuddly toy?
Yes. Minky fleece and polyester stuffing can be washed at 30 to 40 °C, preferably in a laundry bag. Don't tumble dry it, and let it dry thoroughly before it's cuddled again.
How do I sew minky without it sliding?
Use clips instead of pins, a slightly longer stitch of 2.5 to 3 mm and sew slowly. A walking foot helps even more. Cut minky through the backing only to keep the fluff under control.

≥ 10# € 6.50 Incl. Tax.
≥ Need more? Email us for a quote.
Wholesale prices for this item are directly being applied. Intra-community supply? Register with your VAT number and Select "Wholesale quotation" as payment option.