Sew a Felt Bag: Free Pattern, No Hemming, Done in 1 Hour
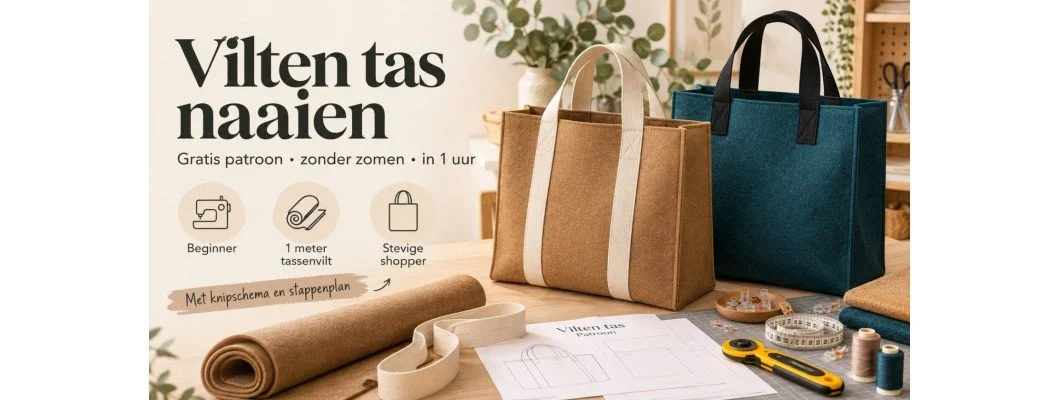
Felt is the most forgiving fabric there is for making a bag. It doesn't fray, so there's nothing to hem, overlock or line. It stands up on its own. And the seams can simply sit on the outside, because that's part of the look. That makes it the perfect first project if you've just got a sewing machine, or if you want to give someone something handmade without losing a whole weekend. Here's how to sew a felt bag, with a free pattern.
With the free pattern below you'll make a tote of 38 × 40 × 10 cm from a single metre of 3 mm bag felt, with a generous piece left over. Count on about an hour of sewing and roughly 15 euros in materials.
Download the free pattern (PDF)
What you need
- 1 metre of 3 mm bag felt, 90 cm wide (€ 9.95 per metre)
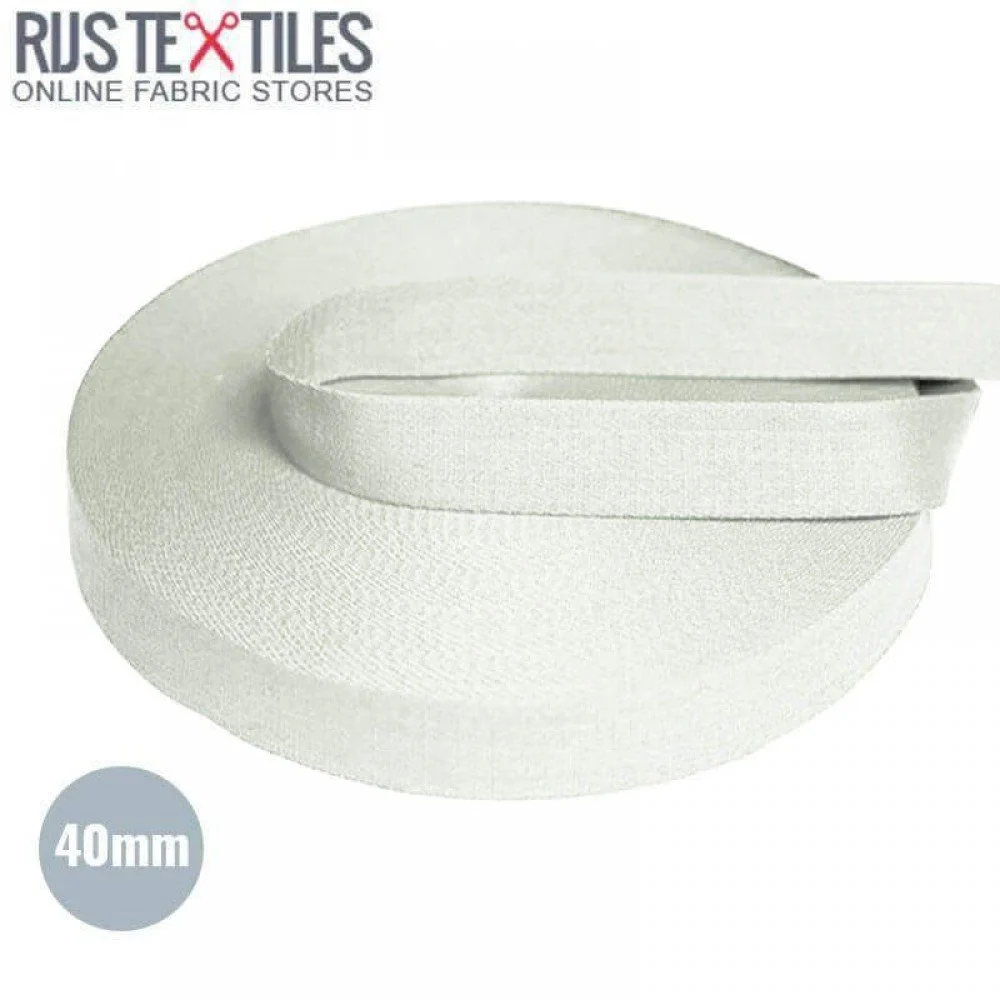
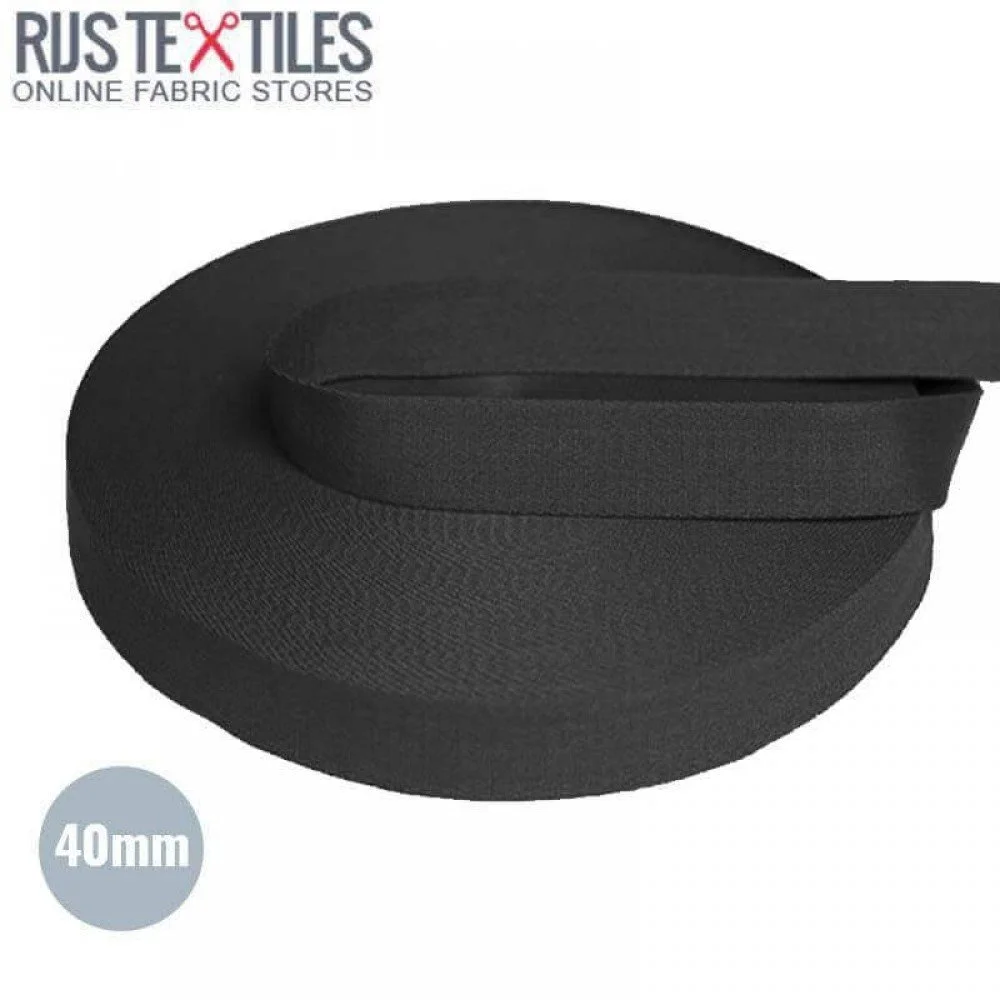
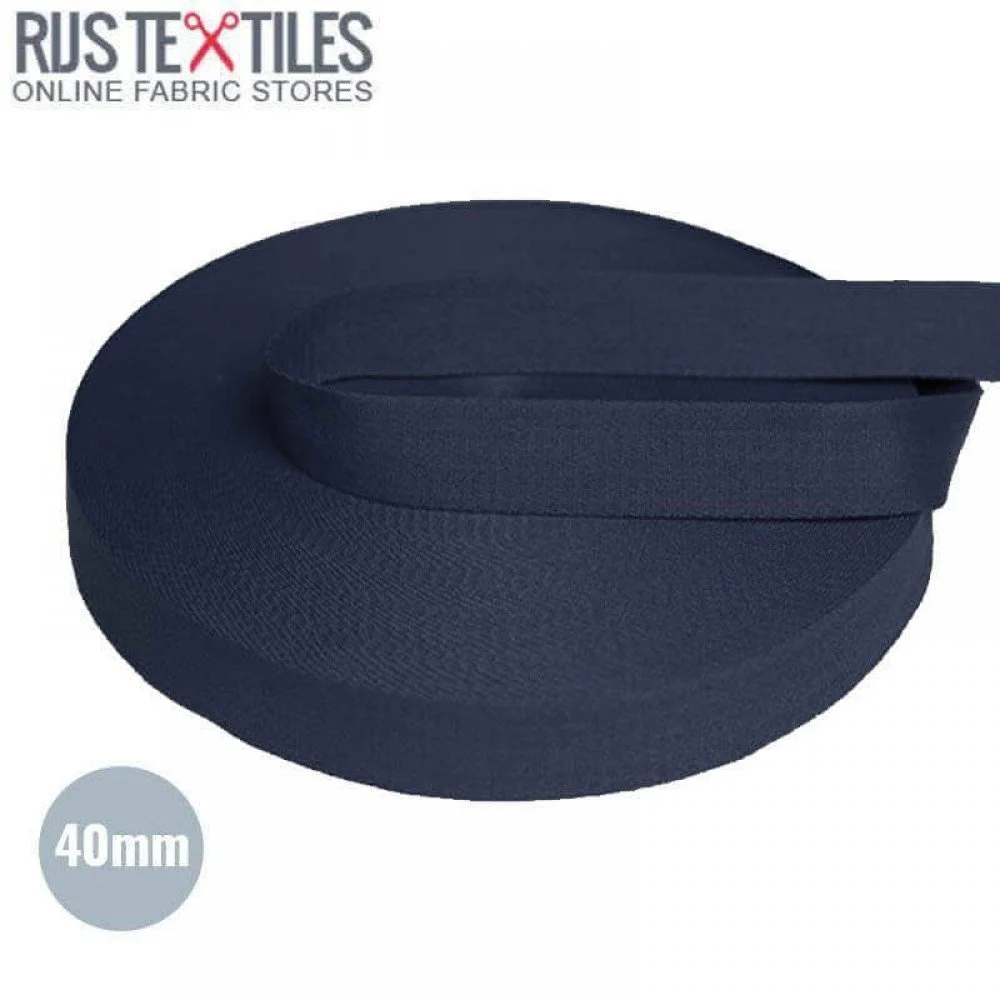
- 1.30 metres of cotton webbing, 40 mm wide, for two 65 cm handles (2.64 m for the full-length variation)
- Strong sewing thread in a matching colour
- A 100/16 machine needle (jeans or universal)
- Rotary cutter and mat (or sharp fabric scissors), ruler, chalk and clips
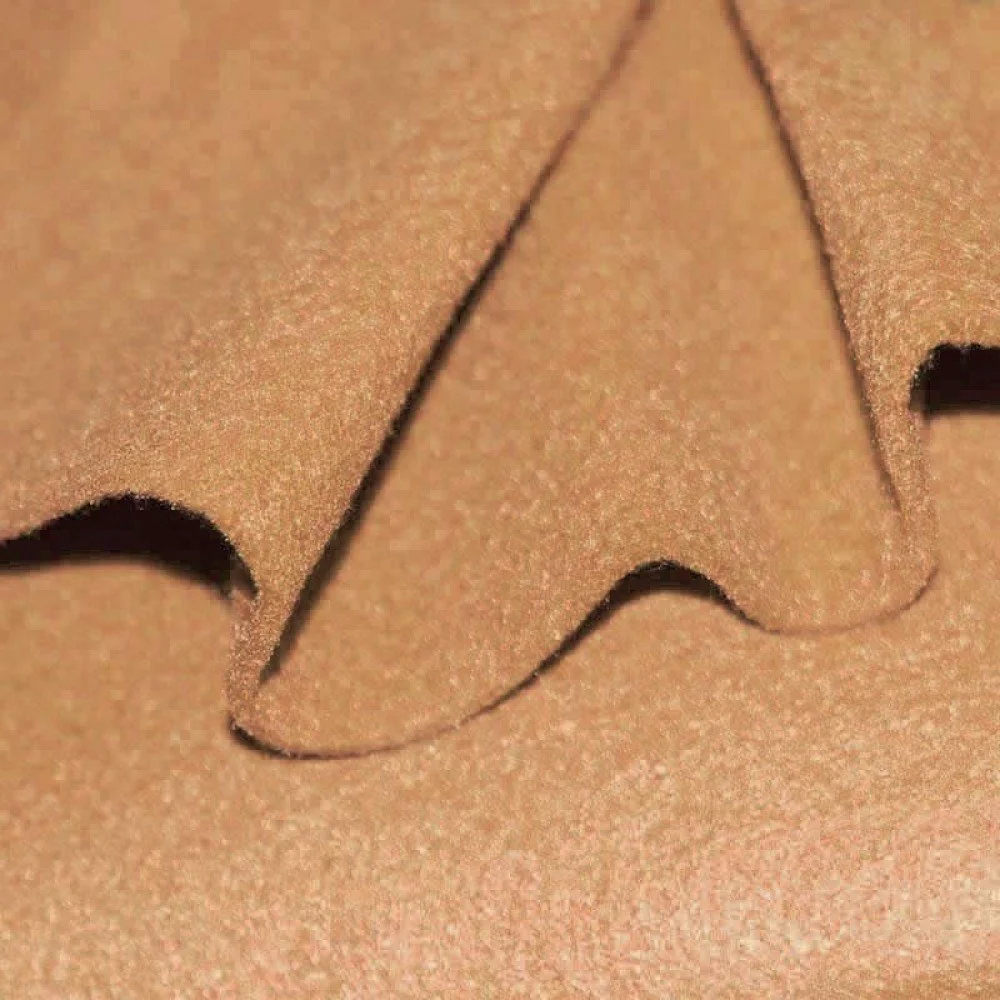
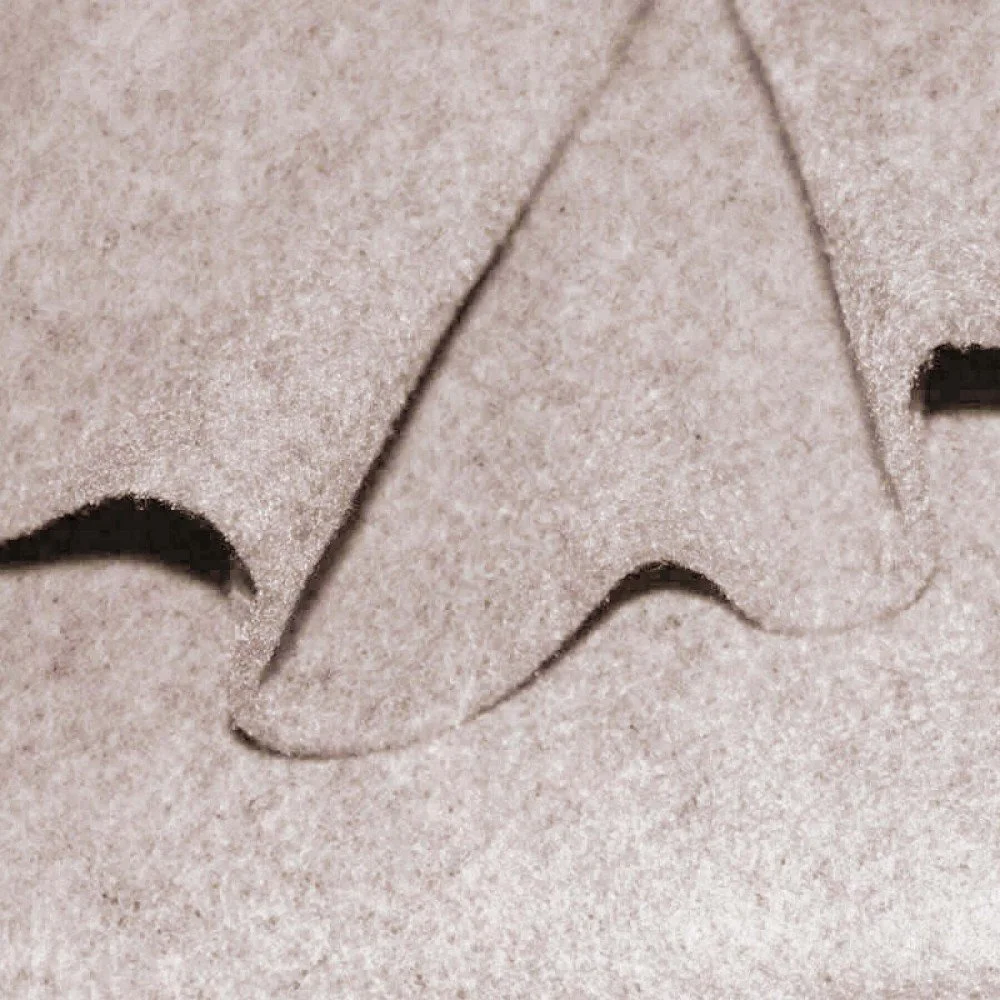
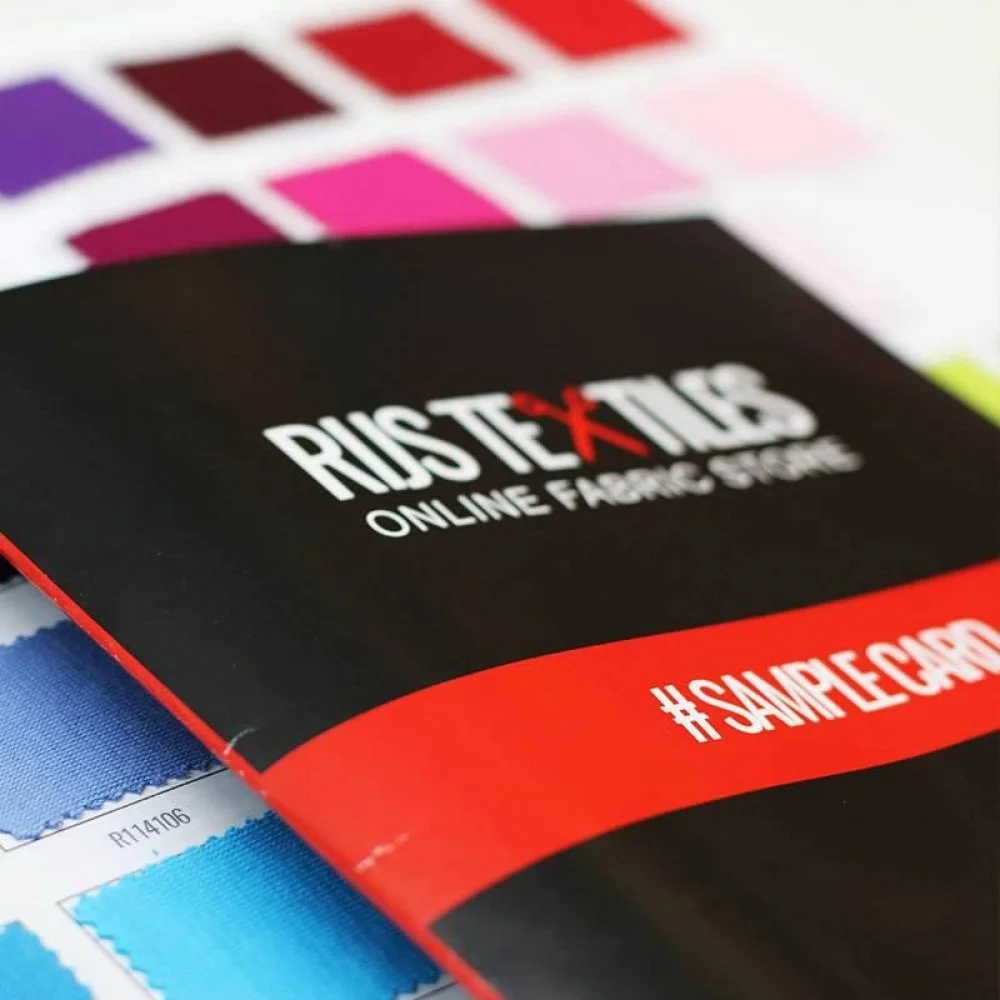
Not sure about the colour? Good combinations are camel with ecru handles, petrol with black, or beige melange with navy. The sample card shows every colour side by side.
Why 3 mm and not craft felt? Craft felt at 1.5 mm is great for crafts and appliqué, but a bag made from it sags and stretches at the handles. Bag felt weighs 580 grams per m² and keeps its shape, even with shopping inside.
The free pattern
The pattern is two A4 pages. Page 1 has the measurements, the cutting layout and the markings. Page 2 has a test square and a full-size handle template, plus detail drawings of the handle position, the base corner and the inside pocket. Print page 2 at 100 %, not "fit to page", and check that the test square measures exactly 5 × 5 cm.
Step 1: cutting
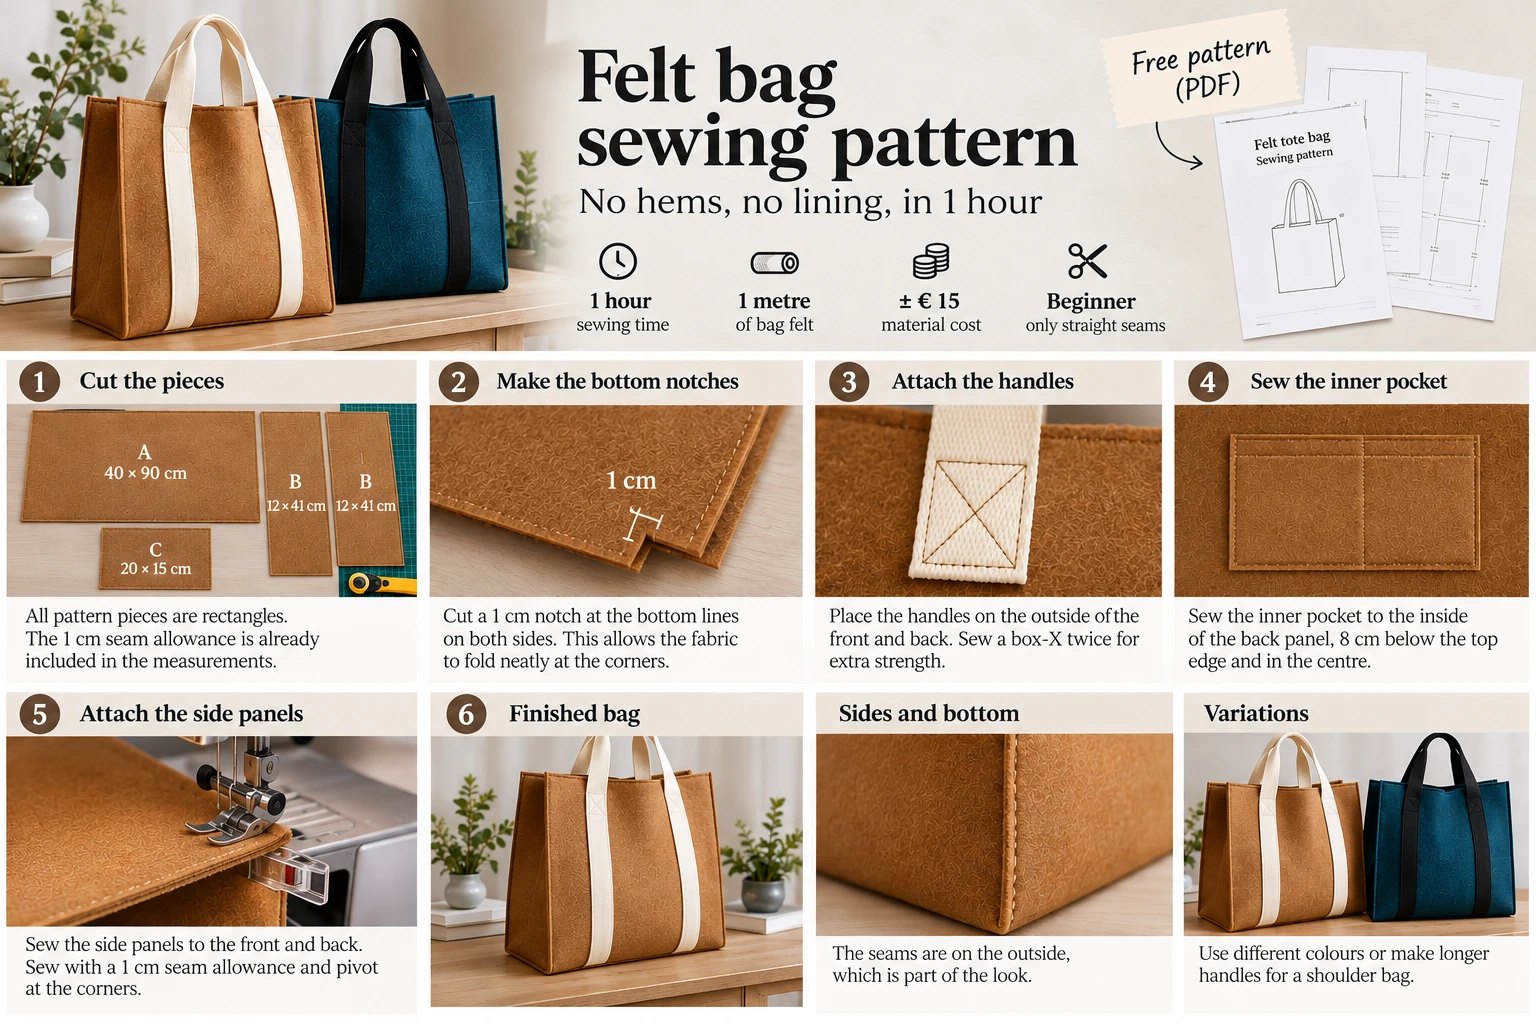
All pattern pieces are rectangles, so you draw them straight onto the felt with a ruler. The 1 cm seam allowance is already included in the measurements.
| Piece | Size | Qty |
|---|---|---|
| A Body: front, base and back in one piece | 40 × 90 cm | 1× |
| B Side panel | 12 × 41 cm | 2× |
| C Inside pocket | 20 × 15 cm | 1× |
| D Handle (webbing) | 65 cm | 2× |
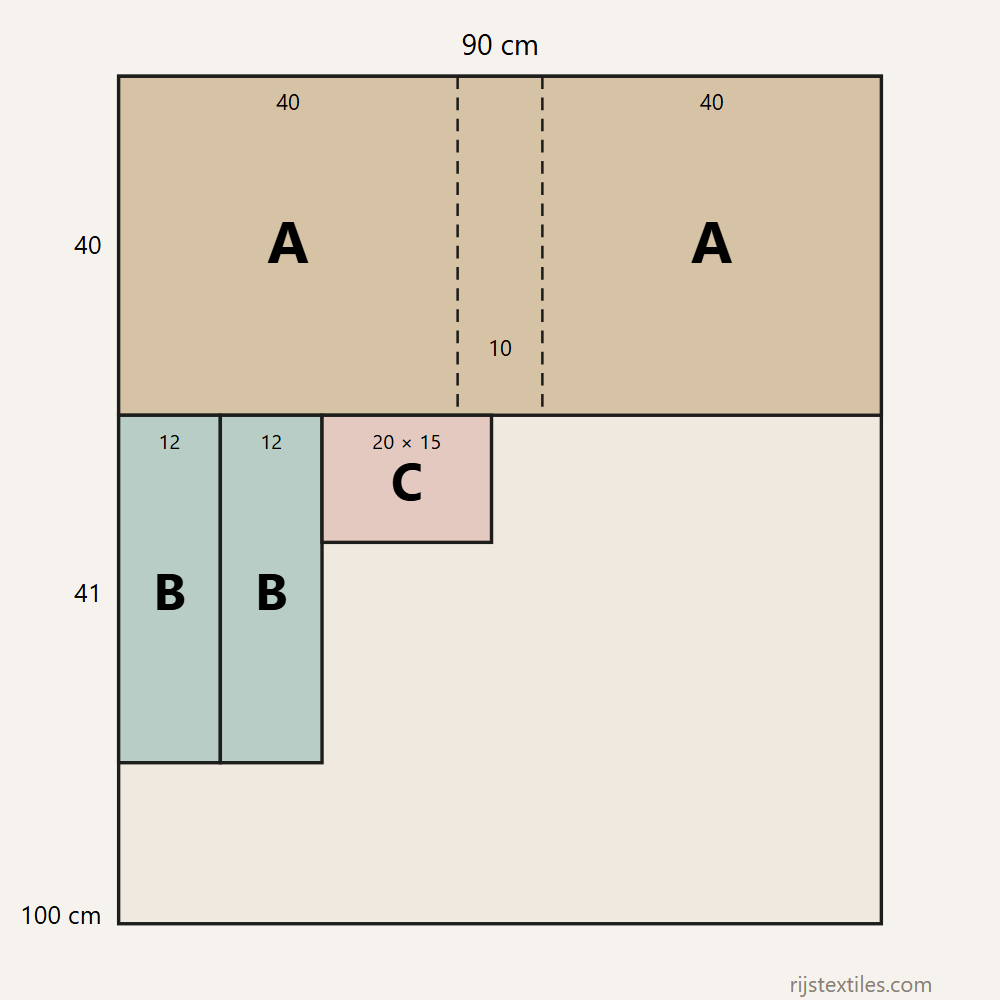
Piece A runs across the full 90 cm fabric width. Draw a line across it at 40 and 50 cm from one short end. The base sits between those lines. At those four points, snip 1 cm into both long edges. It looks like a detail, but without that snip the corner won't lie flat.
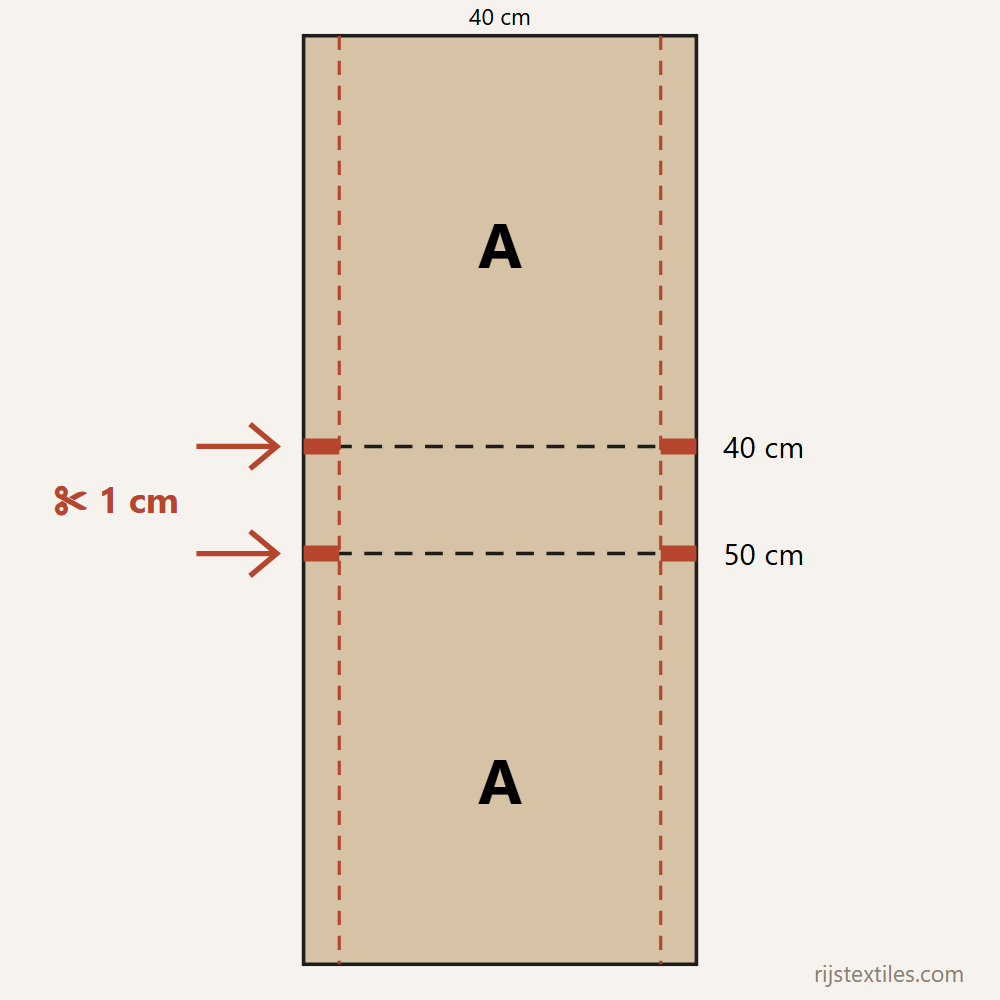
Tip: use a rotary cutter instead of scissors. It gives a clean, straight edge. On a bag with the seams on the outside, every snip of the scissors shows.
Step 2: set up your machine
- Needle 100/16 (jeans or universal). At the handles you sew through three layers: two of felt plus the webbing.
- Stitch length 3.5 to 4 mm. Short stitches perforate the felt and weaken the seam.
- Reduce the presser foot pressure a little if your machine allows it. Got a walking foot? Use it.
- Sew a test piece from two layers of scrap felt first. Only then start on the bag.
Step 3: attach the handles
Place the handles on the outside of the front and back. The outer edge of each handle sits 10 cm from the long side edge of piece A. The end overlaps the bag by 5 cm, measured from the top edge. Use the template from the PDF to draw a square with a cross in it (a box-X) and stitch it twice all round. That cross stitch takes the weight. A single straight seam will tear out after a few heavy shopping trips.
Check that the handle isn't twisted before you stitch down the second end.
Stronger variation: full-length handles
Do you often carry heavy things? Then run the handles all the way down the front and back to the base line. You need 132 cm of webbing per handle, so 2.64 metres for the whole bag. Fold both ends under by 1 cm and place them on the base line (40 and 50 cm on piece A). Topstitch the webbing along both long edges, from the base line up to the top edge. Sew another box-X at the top edge. The weight now hangs on the whole bag instead of a few centimetres of felt.
Step 4: inside pocket
Place piece C on the inside of the back, centred and 8 cm below the top edge. Sew three sides and leave the top open. An extra vertical seam at 12 cm gives you a narrow slot for your phone. No hemming needed here either.
Step 5: sew in the side panels
This is the only step where you should take your time.
- Place a side panel B wrong sides together against the side of the front, so the seam ends up on the outside. Line up the top edges and clip. Pins leave holes in felt; clips don't.
- Sew down 1 cm from the edge, stopping exactly 1 cm before the base line. Leave the needle down.
- Lift the presser foot and turn the work a quarter turn. The snip from step 1 lets the allowance of piece A fan open around the corner.
- Sew across the base (10 cm), turn again at the next corner and sew up along the back.
- Repeat on the other side. Backstitch well at the start and finish.
Step 6: finishing
Trim the outside seam allowance straight to about 7 mm with the rotary cutter for a crisp edge. Want softer corners at the top? Round them off using a 2-euro coin as a guide. Ironing isn't necessary. If you do need to remove a crease, use the lowest setting with a cloth in between: bag felt is polyester and can melt.
Variations on the same pattern
- Two colours: cut the side panels from a contrast colour.
- Shoulder bag: use two 110 cm handles instead of 65 cm.
- Laptop bag: make piece A 34 × 72 cm and the side panels 7 × 34.5 cm. That fits a 14-inch laptop in a thin sleeve.
- A gift from the leftovers: cut coasters, a key fob or a pouch from the remaining felt.
Most failed bags go wrong in the same places: handles with only one seam, stitches that are too short, or no test piece. In How to Make a Bag: 5 Mistakes That Ruin Your Project you can read what goes wrong and how to avoid it.
Download the free pattern (PDF)
Frequently asked questions
Can I wash a felt bag?
Preferably not in the machine. Bag felt is non-woven and can pill or lose its shape in the drum. Remove stains with a damp cloth and a little mild soap, then let the bag dry flat.
Can a regular sewing machine handle 3 mm felt?
Yes. Two layers make 6 mm, and most domestic machines manage that with a 100/16 needle and a long stitch. Only sew slowly at the handles, where there are three layers. Turn the handwheel by hand there if you need to.
How much felt do I need for two bags?
About 1.25 metres. Place two pieces A one below the other (80 cm together). The four side panels and two pockets then fit side by side in a single 41 cm strip. If you want room for a mistake, get 1.5 metres.
Can I sell bags made from this pattern?
Yes, you may sell bags you sew yourself. You may not resell the PDF pattern itself or share it as your own pattern. Please link to this page instead.
What's the difference between bag felt and wool felt?
Bag felt is 100% polyester: sturdy, colourfast and affordable. Wool felt feels warmer and more luxurious, but costs more and is more sensitive to moisture. For a bag you use every day, bag felt is the practical choice.


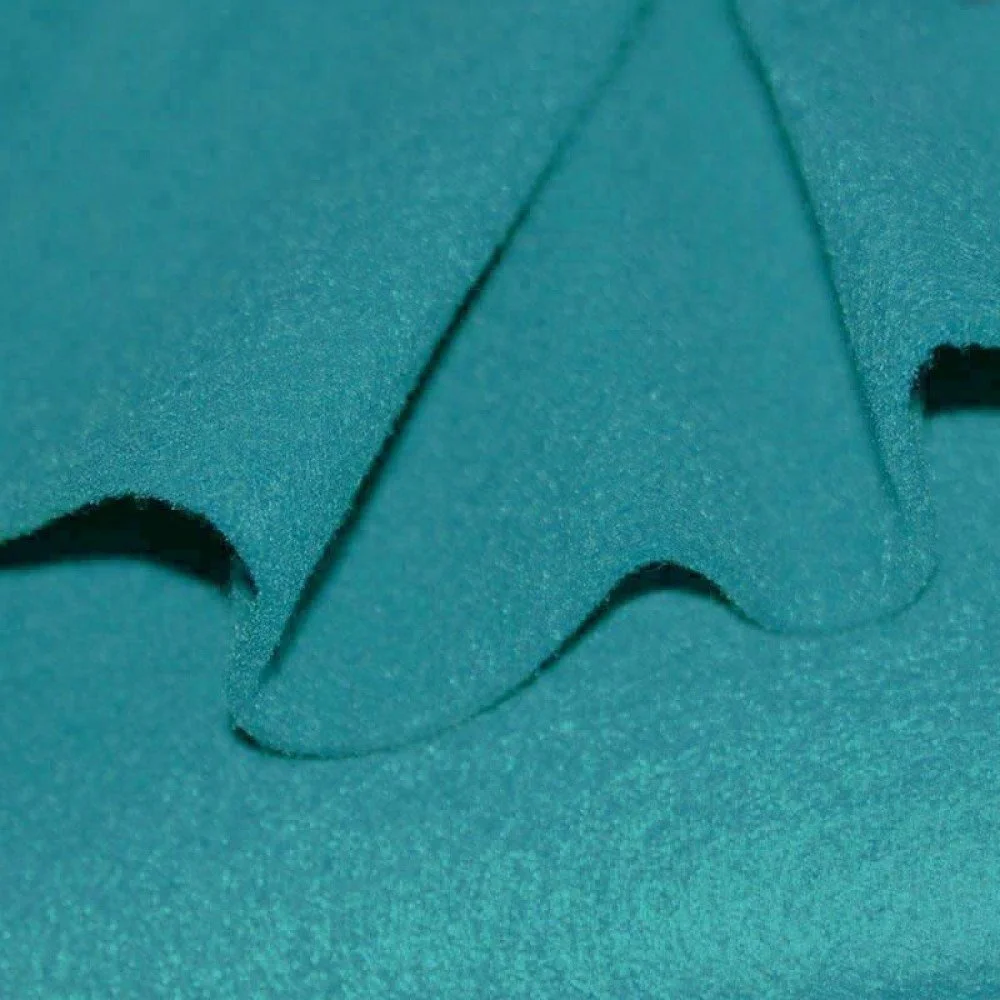
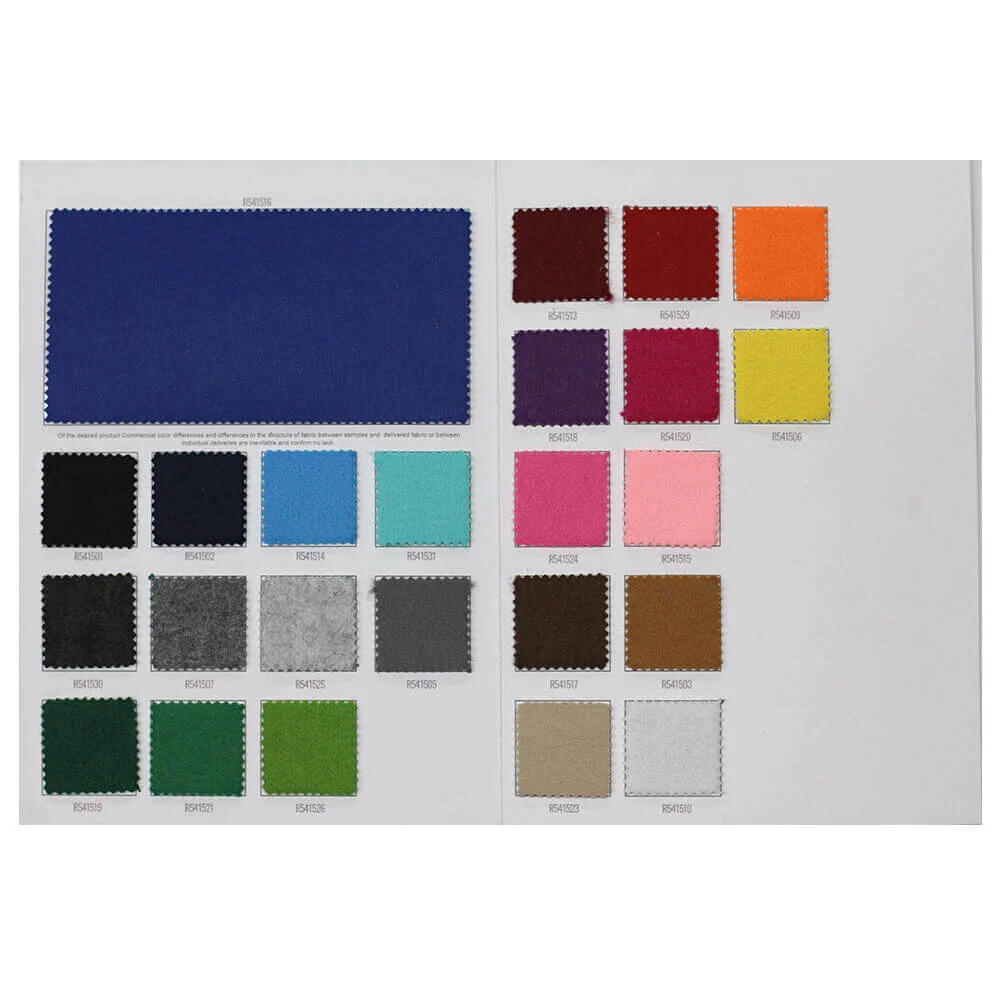
27 Different Colors.