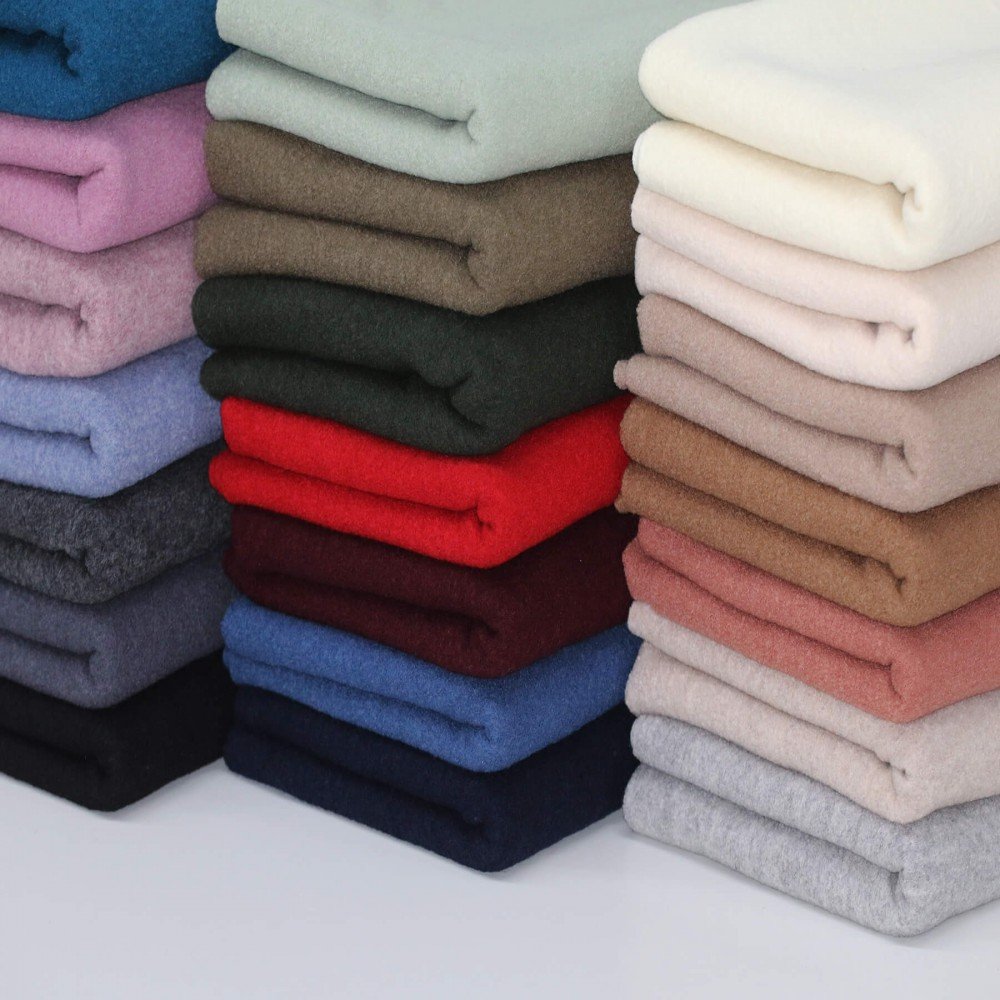
Sew a Boiled Wool Cape: Free Pattern, No Hemming
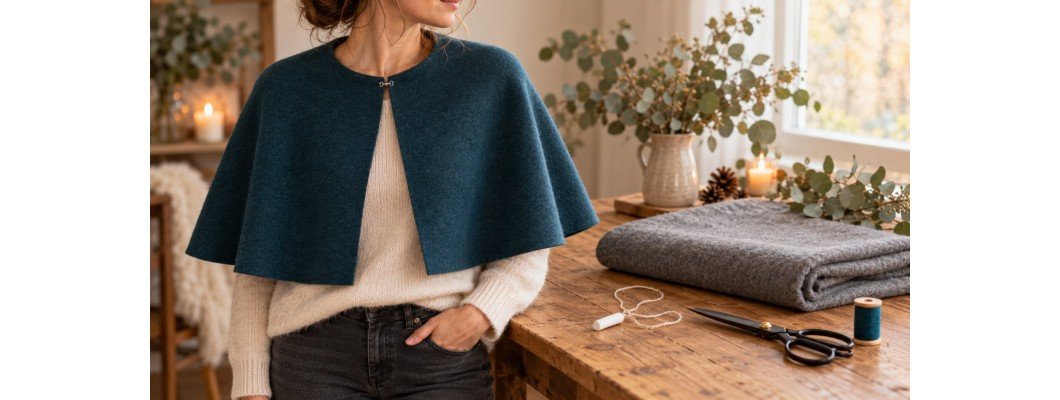
A cape is the easiest garment you can sew, especially in boiled wool. The fabric doesn't fray, so you cut it out and you're done: no hemming, no lining, no seams. One half circle with a round neckline, a hook at the neck, and you have a warm, smart cape for winter. In about an hour, even if you've never sewn clothes before.
With the free pattern below you'll make a cape of about 55 cm long from 0.75 metre of boiled wool or loden. You draw the large shape with a piece of string and chalk. The PDF includes a full-size neckline template in three sizes.
Download the free pattern (PDF)
What is boiled wool?
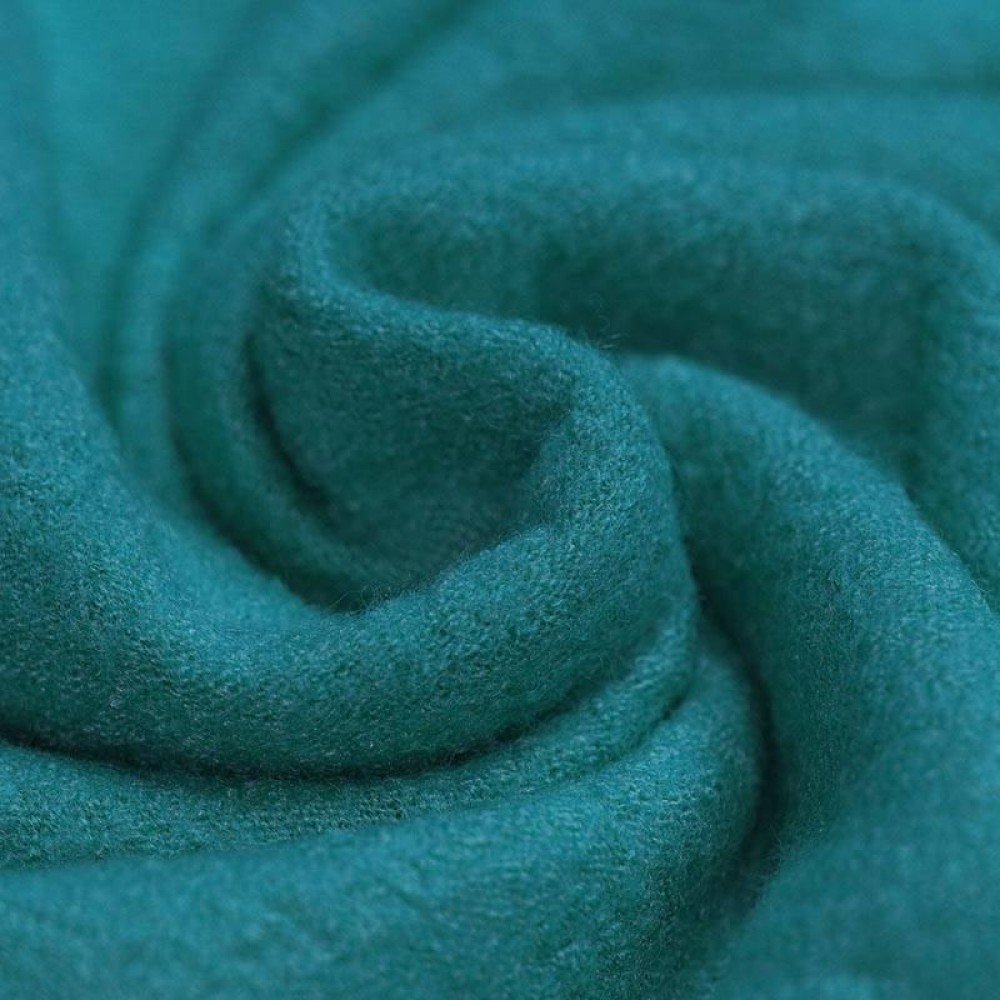
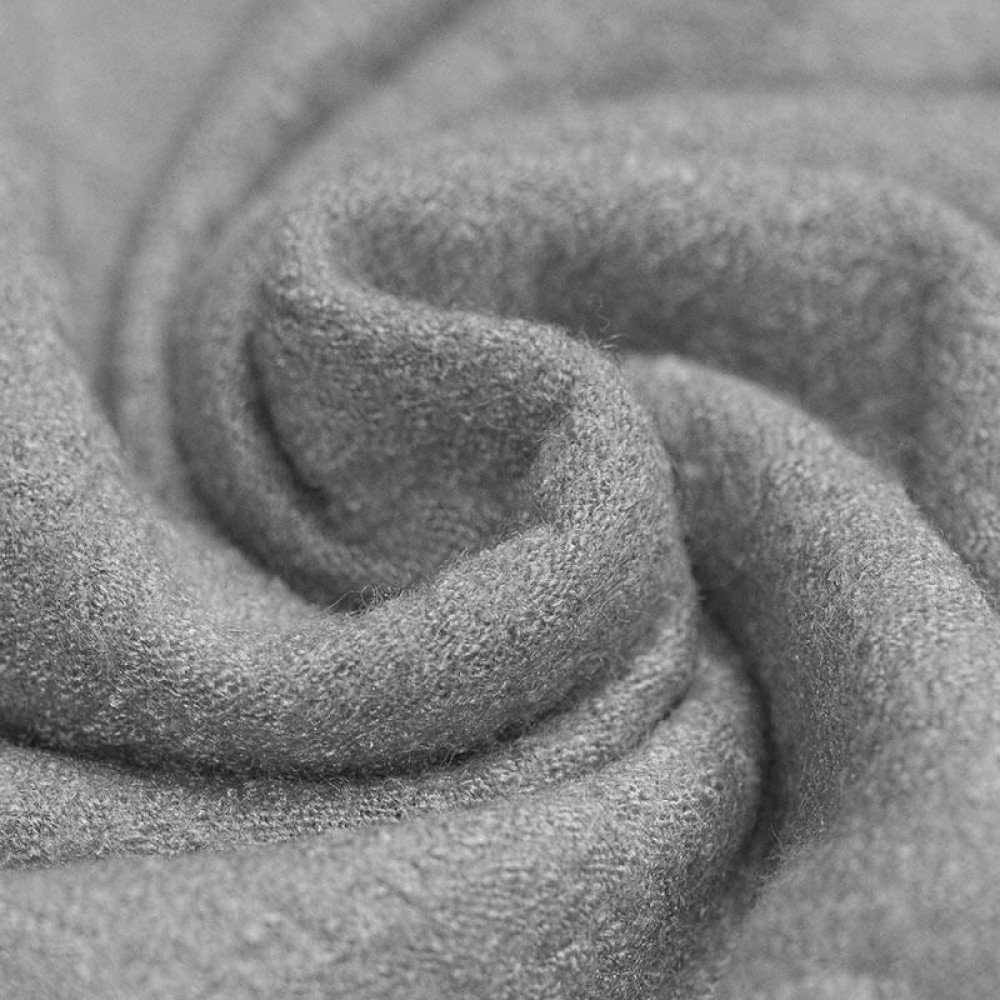
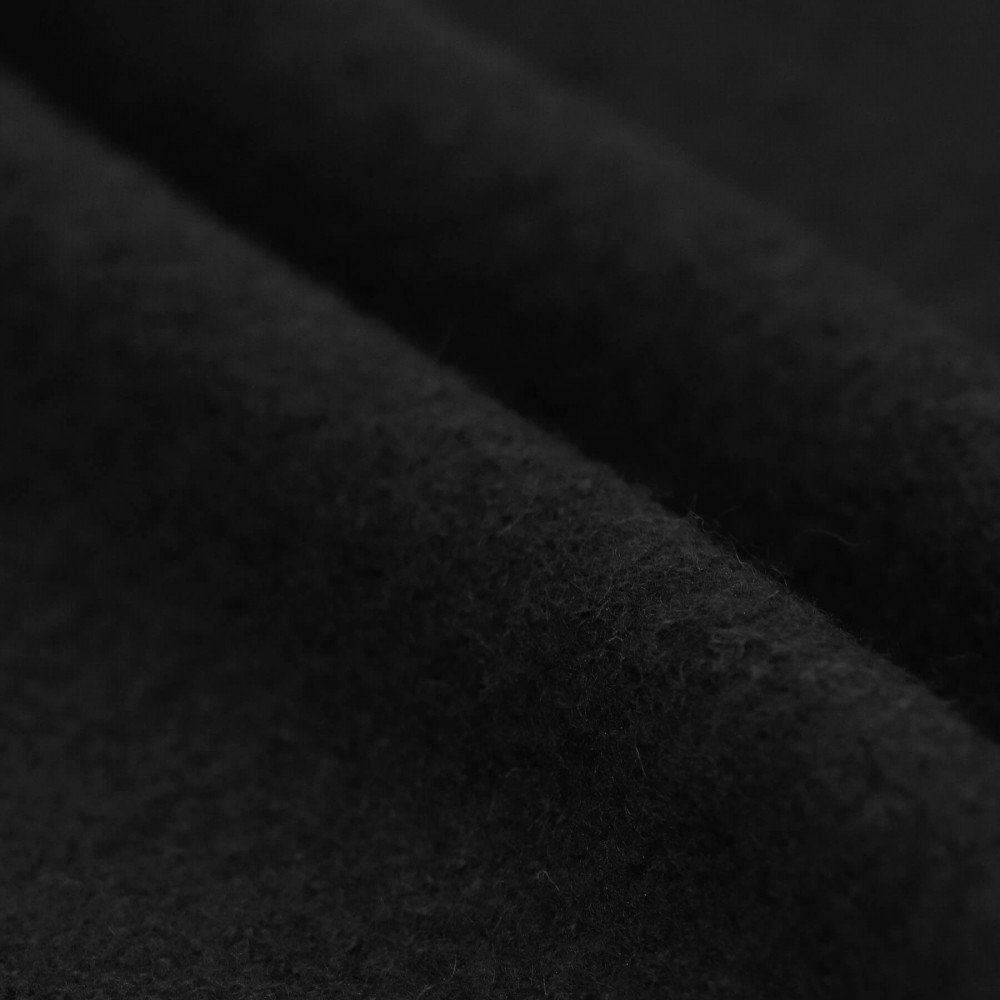
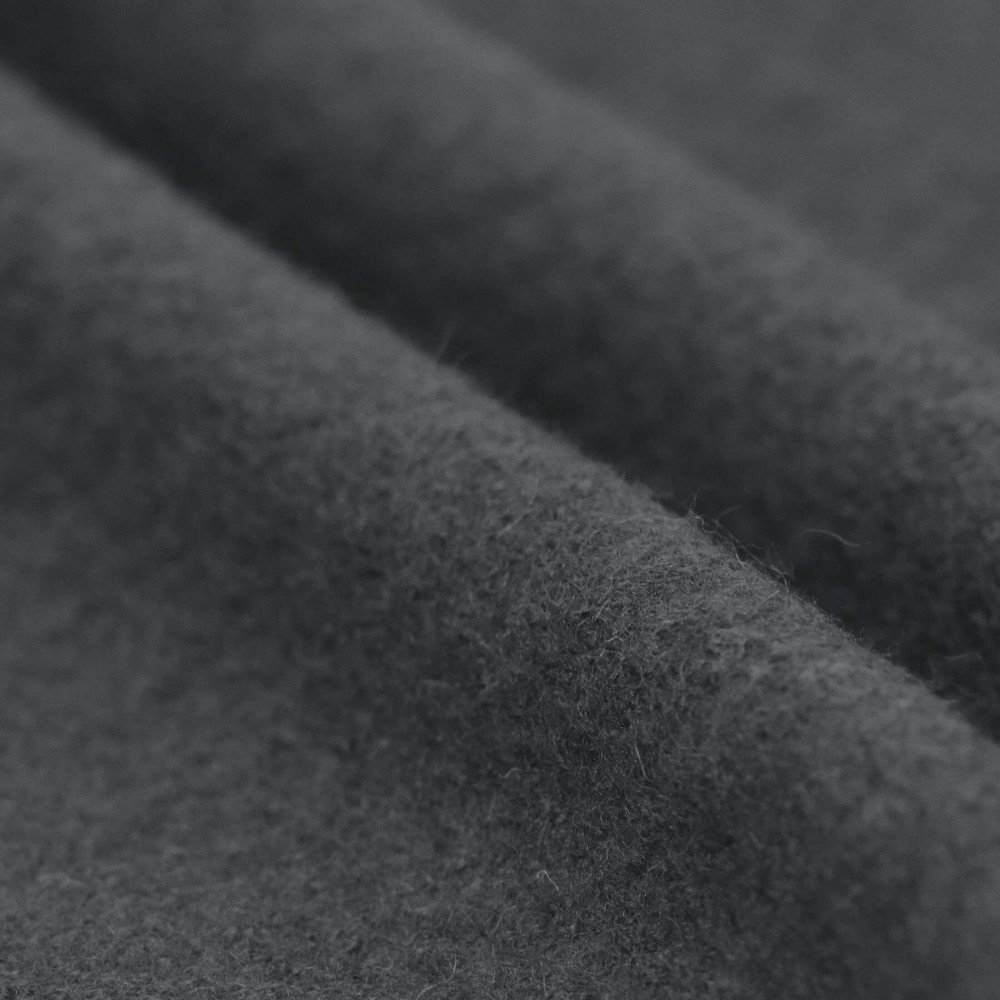
Boiled wool, also called fulled or felted wool (Kochwolle in German), is wool that has been "fulled" after knitting or weaving: with warm water, soap and agitation the fabric shrinks and the fibres felt together. The result is a dense, sturdy fabric that is warm and windproof and doesn't fray when you cut it. Loden is a heavier variant: ours weighs 400 grams per m² and has a water-repellent finish. Both are ideal for capes, ponchos, jackets and hats where you want to leave the edges raw.
What you need
- 0.75 metre of boiled wool (€ 19.95 per metre) or loden (€ 24.95 per metre), 140 cm wide
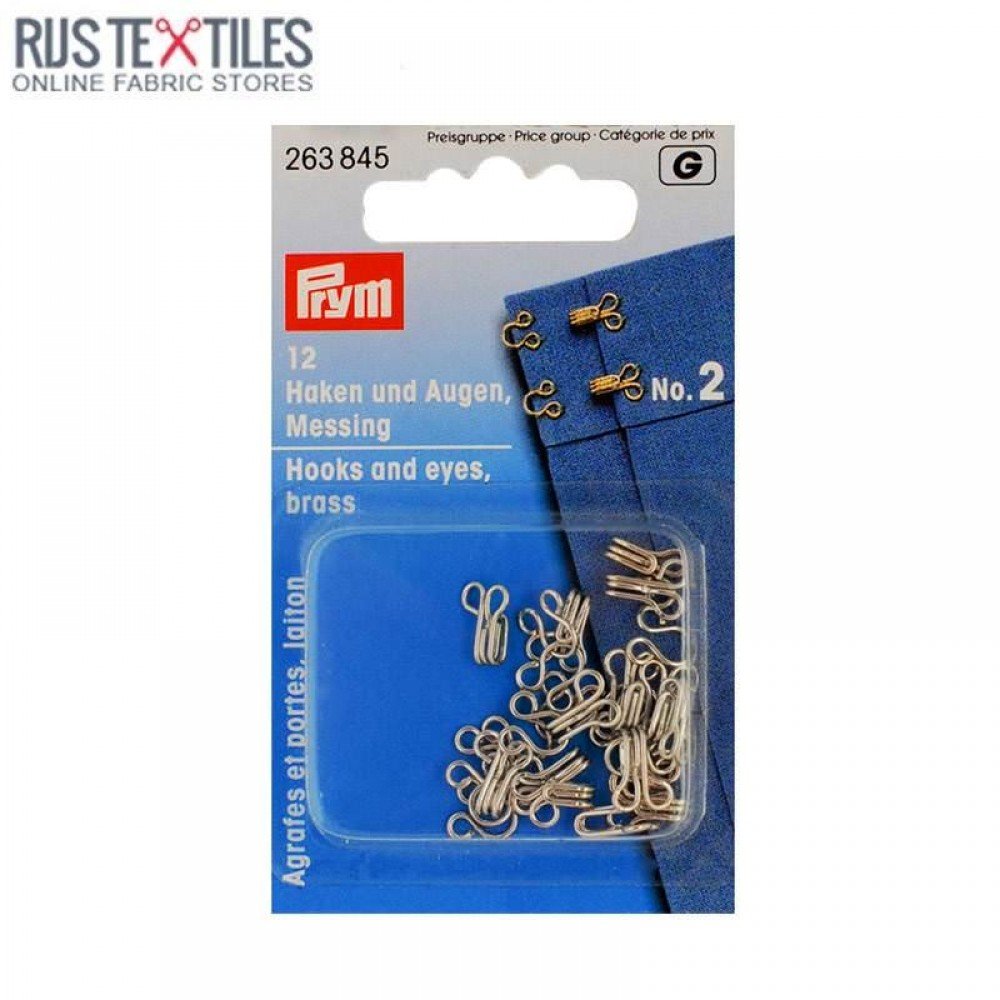
- Hooks and eyes or a large 30 mm sew-on snap
- Sewing thread to match the fabric
- A strong piece of string of about 80 cm, chalk, a drawing pin or pin
- Sharp fabric scissors or a rotary cutter. You don't even need a sewing machine.
Count on around 17 to 21 euros in materials.
The free pattern
The pattern is two A4 pages. Page 1 has the materials, the size table and a drawing showing how to mark the cape on the folded fabric. Page 2 is the full-size neckline template in sizes S, M and L, with the position of the closure. Print at 100 % and check the 5 × 5 cm square.
Step 1: choose your size
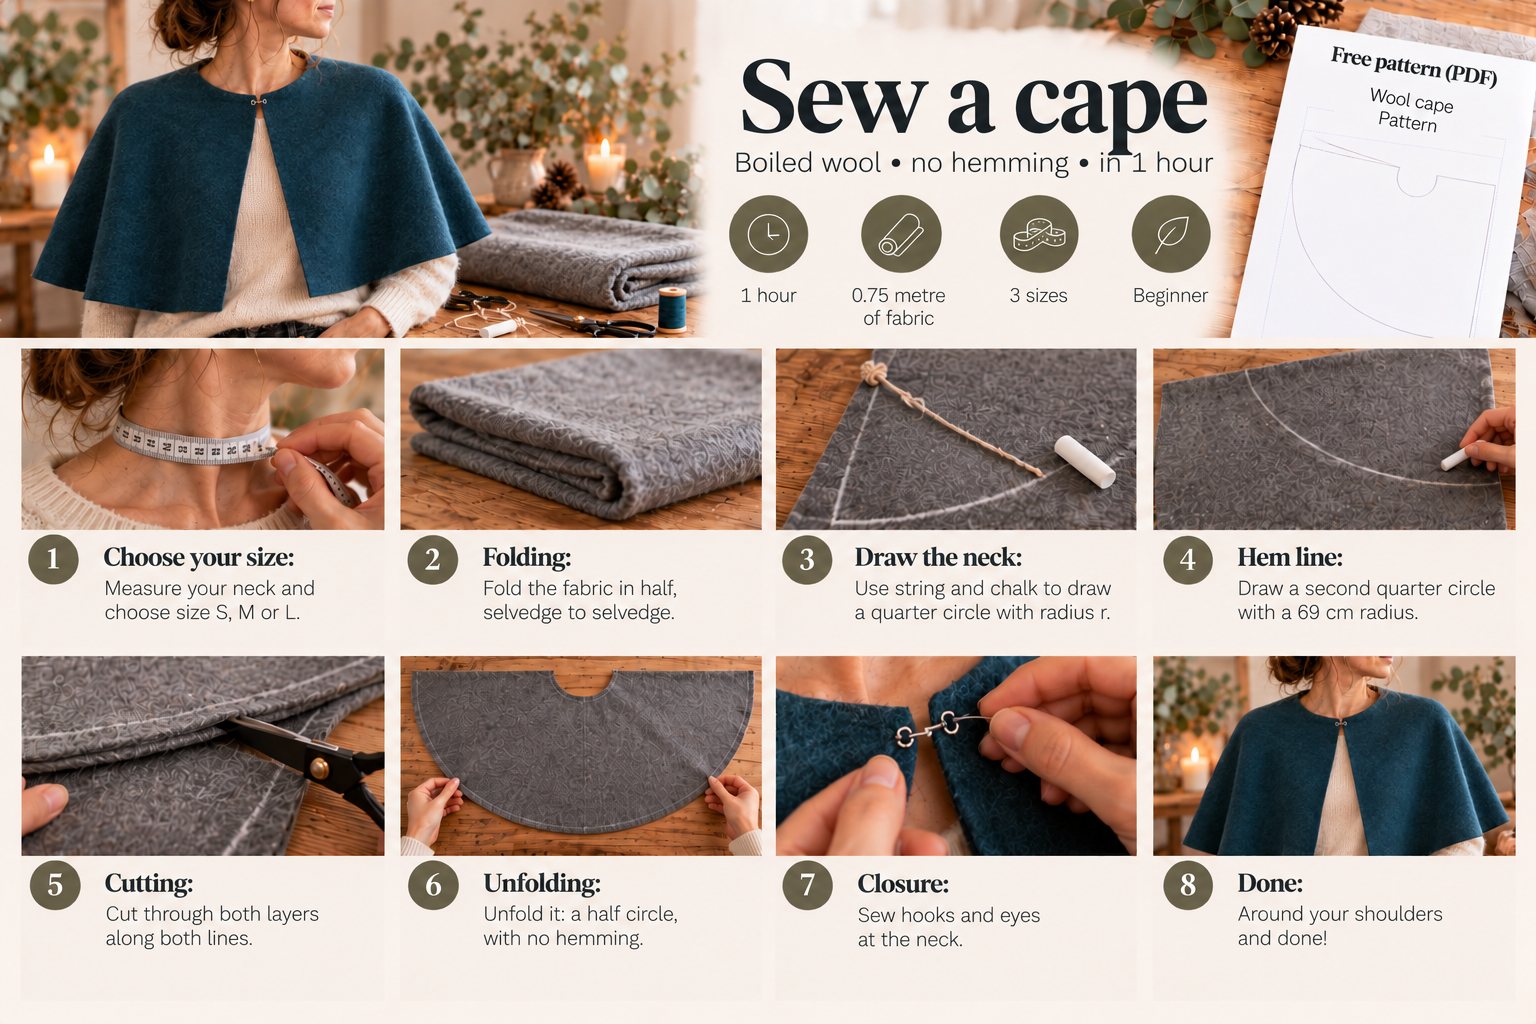
Measure around your neck where a scarf would sit, and choose your size from the table. The outer edge is the same for every size (69 cm from the centre point): that way the cape fits exactly on 140 cm wide fabric.
| Size | Neck | Neck radius r | Outer radius R | Cape length |
|---|---|---|---|---|
| S | up to 38 cm | 13.5 cm | 69 cm | approx. 55 cm |
| M | 38–42 cm | 14.5 cm | 69 cm | approx. 54 cm |
| L | 42–46 cm | 15.5 cm | 69 cm | approx. 53 cm |
Step 2: fold and draw
- Fold the fabric in half lengthwise, selvedge to selvedge. The fold will become the centre back.
- Put a drawing pin or pin in the top corner, right on the fold. That's the centre point of the cape.
- Tie the chalk to the string. Hold the string taut at the length of your neck radius r (see table) and draw a quarter circle. Or place the neckline template from the PDF in the corner and trace it.
- Make the string 69 cm long and draw a second, large quarter circle: the bottom edge of the cape.
Tip: keep the chalk upright and the string taut, and the line will come out nicely round. Draw on the wrong side of the fabric if it looks different from the right side.
Step 3: cutting
Cut through both layers at once along the small and the large quarter circle. Use sharp scissors and make long, steady cuts, because every jag will show on the raw edge. Unfold the fabric: you now have a half circle with a round cut-out for your neck. The straight edges are the front of the cape.
Step 4: the closure
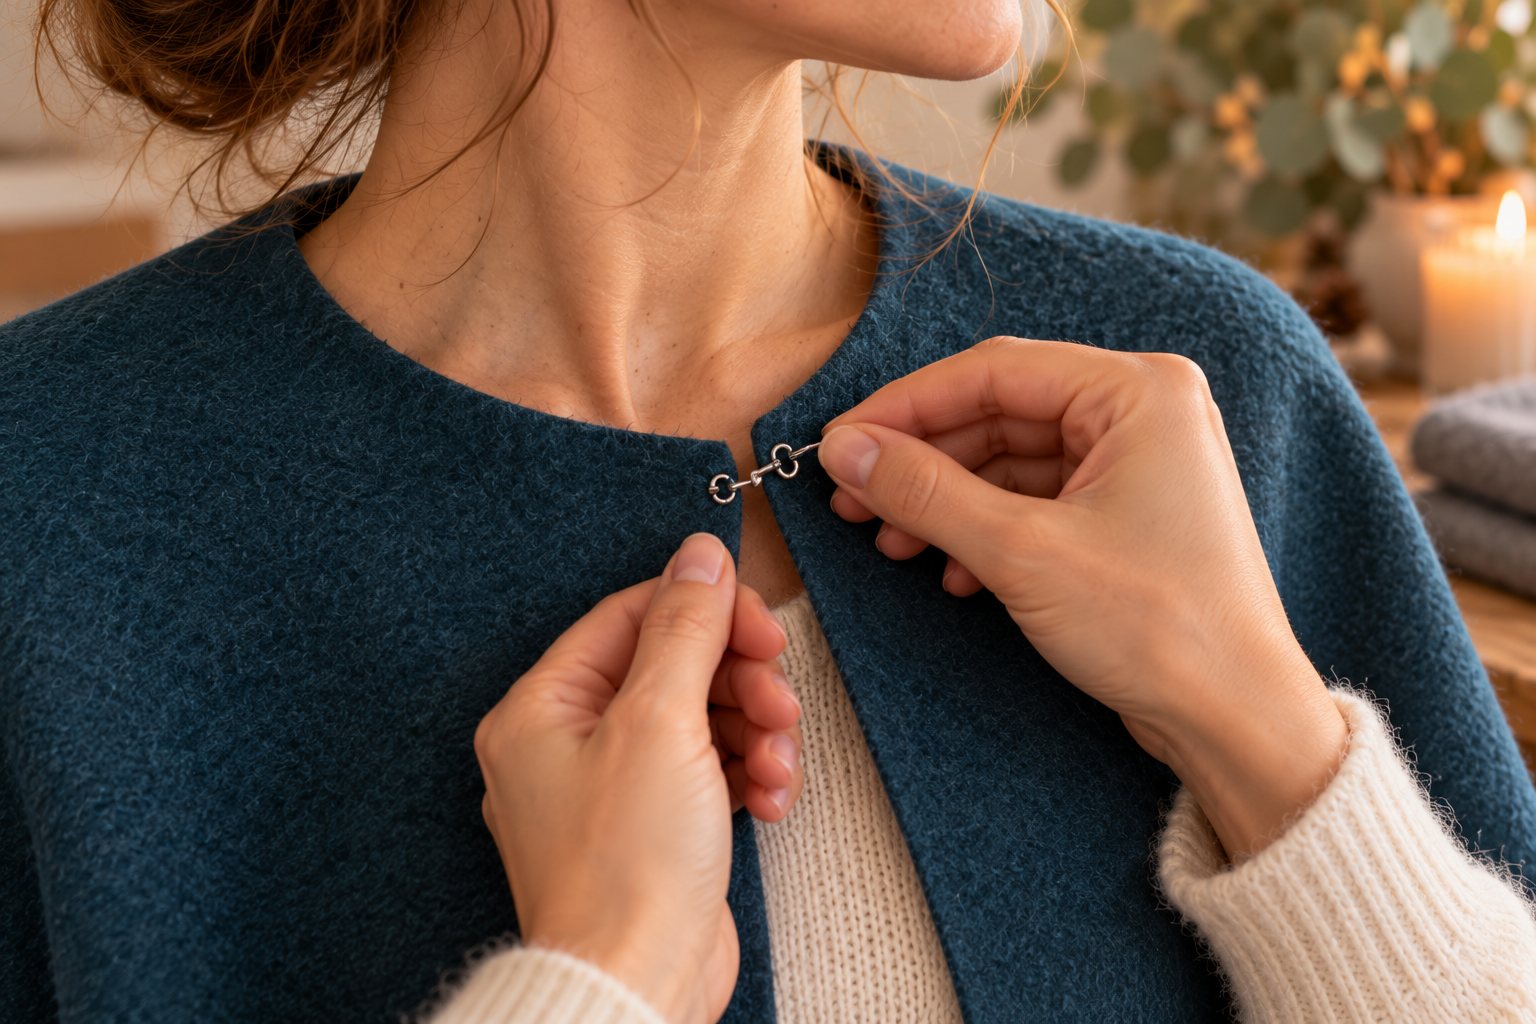
Put the cape around your shoulders and pin where the front edges meet. Sew the hook to the inside of one front edge, 2 cm from the edge and 1.5 cm below the neckline. Sew the eye directly opposite on the other side. If you want the cape to overlap a little, use a 30 mm snap instead: you sew it on invisibly on the inside.
Step 5 (optional): decorating the edges
Boiled wool doesn't need finishing, but you can do it as an accent. A blanket stitch in thick wool or embroidery thread in a contrasting colour along the hem gives a lovely handmade look. For a crisp edge, machine a decorative stitch all round 5 mm from the edge. Press boiled wool only with a damp cloth in between and on a low setting.
Variations on the same pattern
- Longer cape: want it to reach past the hips? Draw two separate quarter circles with a larger radius (for example 90 cm) and sew them together along the centre back. You'll need about 2 metres of fabric.
- Children's cape: use a neck radius of 11 cm and an outer radius of 45 cm. That gives a cape of about 34 cm long for a child aged 4 to 8, from 0.5 metre of fabric.
- Witch or wizard cape: in black or deep purple it's instantly a dressing-up cape for Halloween or carnival. And afterwards it simply works as a winter cape.
- Collar: cut a 6 cm wide strip as long as your neckline and sew it to the neck edge with a narrow seam.
Love projects without hemming? Then also take a look at our felt bag with a free pattern.
Download the free pattern (PDF)
Frequently asked questions
What is boiled wool?
Boiled wool, also called fulled wool or Kochwolle, is wool that has been shrunk and felted with warm water, soap and agitation. That makes the fabric dense, warm and windproof, and it doesn't fray when you cut it.
Do you need to hem boiled wool?
No. Boiled wool doesn't fray, so you can leave the edges raw. If you'd still like an accent, finish the edge with a blanket stitch or decorative stitch, purely for the look.
How much fabric do I need for a cape?
For this cape of about 55 cm long you need 0.75 metre of 140 cm wide fabric. A longer cape past the hips, made from two quarter circles, takes about 2 metres.
What's the difference between boiled wool and loden?
Both are fulled wool that doesn't fray. Loden is heavier, 400 grams per m² in our range, and has a water-repellent finish, which makes it suitable for outdoor wear and jackets. Boiled wool is a little softer and lighter.
How do I wash a boiled wool cape?
As little as possible: airing it and gently dabbing stains usually works best. If it does need washing, wash it by hand in cold water with wool detergent and let it dry flat. Dry cleaning is fine too. Never tumble dry it.